 Florencia Baldini Last Updated on November 16, 2025
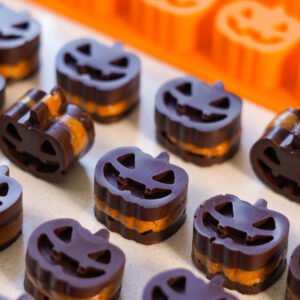
Halloween is the perfect time to get creative in the kitchen with fun, festive treats that everyone will love. These Halloween Peanut Butter Cups are not only adorable but also surprisingly simple to make, using just four ingredients you probably already have at home. Whether you’re planning a spooky party, a sweet gift, or just a little seasonal indulgence, this recipe is perfect for all skill levels — no need to be a professional chocolatier like Cedric!
The rich, smooth dark chocolate pairs beautifully with the creamy peanut butter filling, balanced by just a touch of sweetness from maple syrup and a hint of powdered peanut butter to keep the texture just right. Making your own peanut butter cups lets you control the ingredients, avoiding the artificial additives and excess sugar often found in store-bought versions. Plus, they’re a fantastic way to show off a homemade treat that looks as good as it tastes.
These little treats are perfect for whenever you need a quick, satisfying snack or a fun dessert. Enjoy them chilled straight from the fridge or freezer for a refreshing, firm bite. They also pair beautifully with a cup of tea or coffee for an indulgent moment. If you want a softer texture, leave them at room temperature for a few minutes before eating. Perfect for sharing at parties, Halloween celebrations, or just treating yourself to something deliciously homemade.
A Mould For Every Occasion
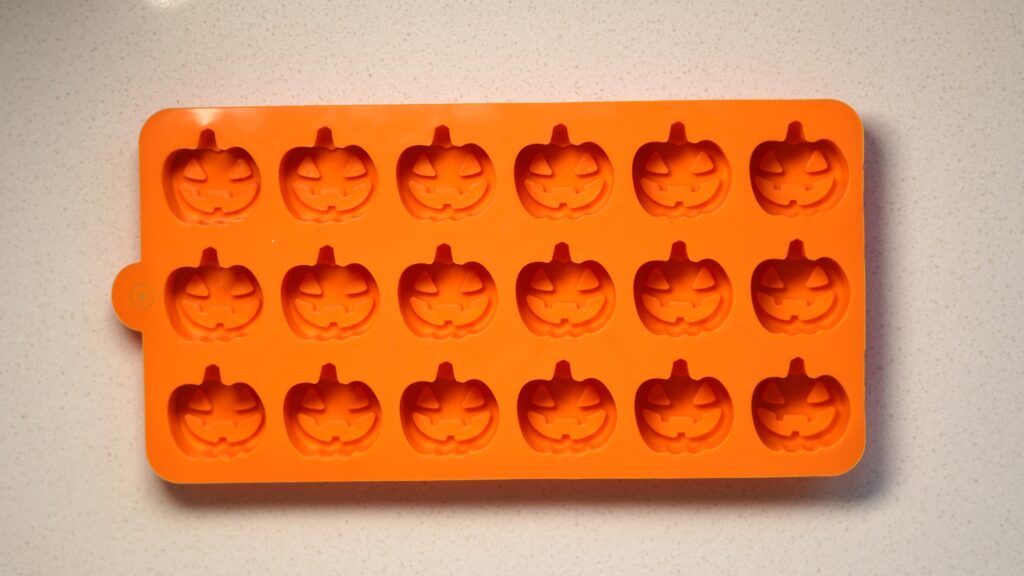
You can use any mould you like for these peanut butter cups—get creative and match them to the occasion! Halloween-themed silicone moulds are perfect for spooky vibes, but you can also use simple ice cube trays, mini muffin tins, or even candy moulds. Just make sure your chosen moulds are silicone or non-stick for easy removal. This way, you can customise the shapes and sizes to suit any festivity or craving—making these treats even more fun and festive to enjoy!
Silicone moulds are especially great because their flexibility makes it easy to pop out your peanut butter cups without breaking them. Unlike rigid plastic or metal moulds, silicone bends and stretches, so your treats come out perfectly shaped every time — no mess, no fuss. This makes silicone the best choice for hassle-free and beautifully formed peanut butter cups.
Step-By-Step Instructions

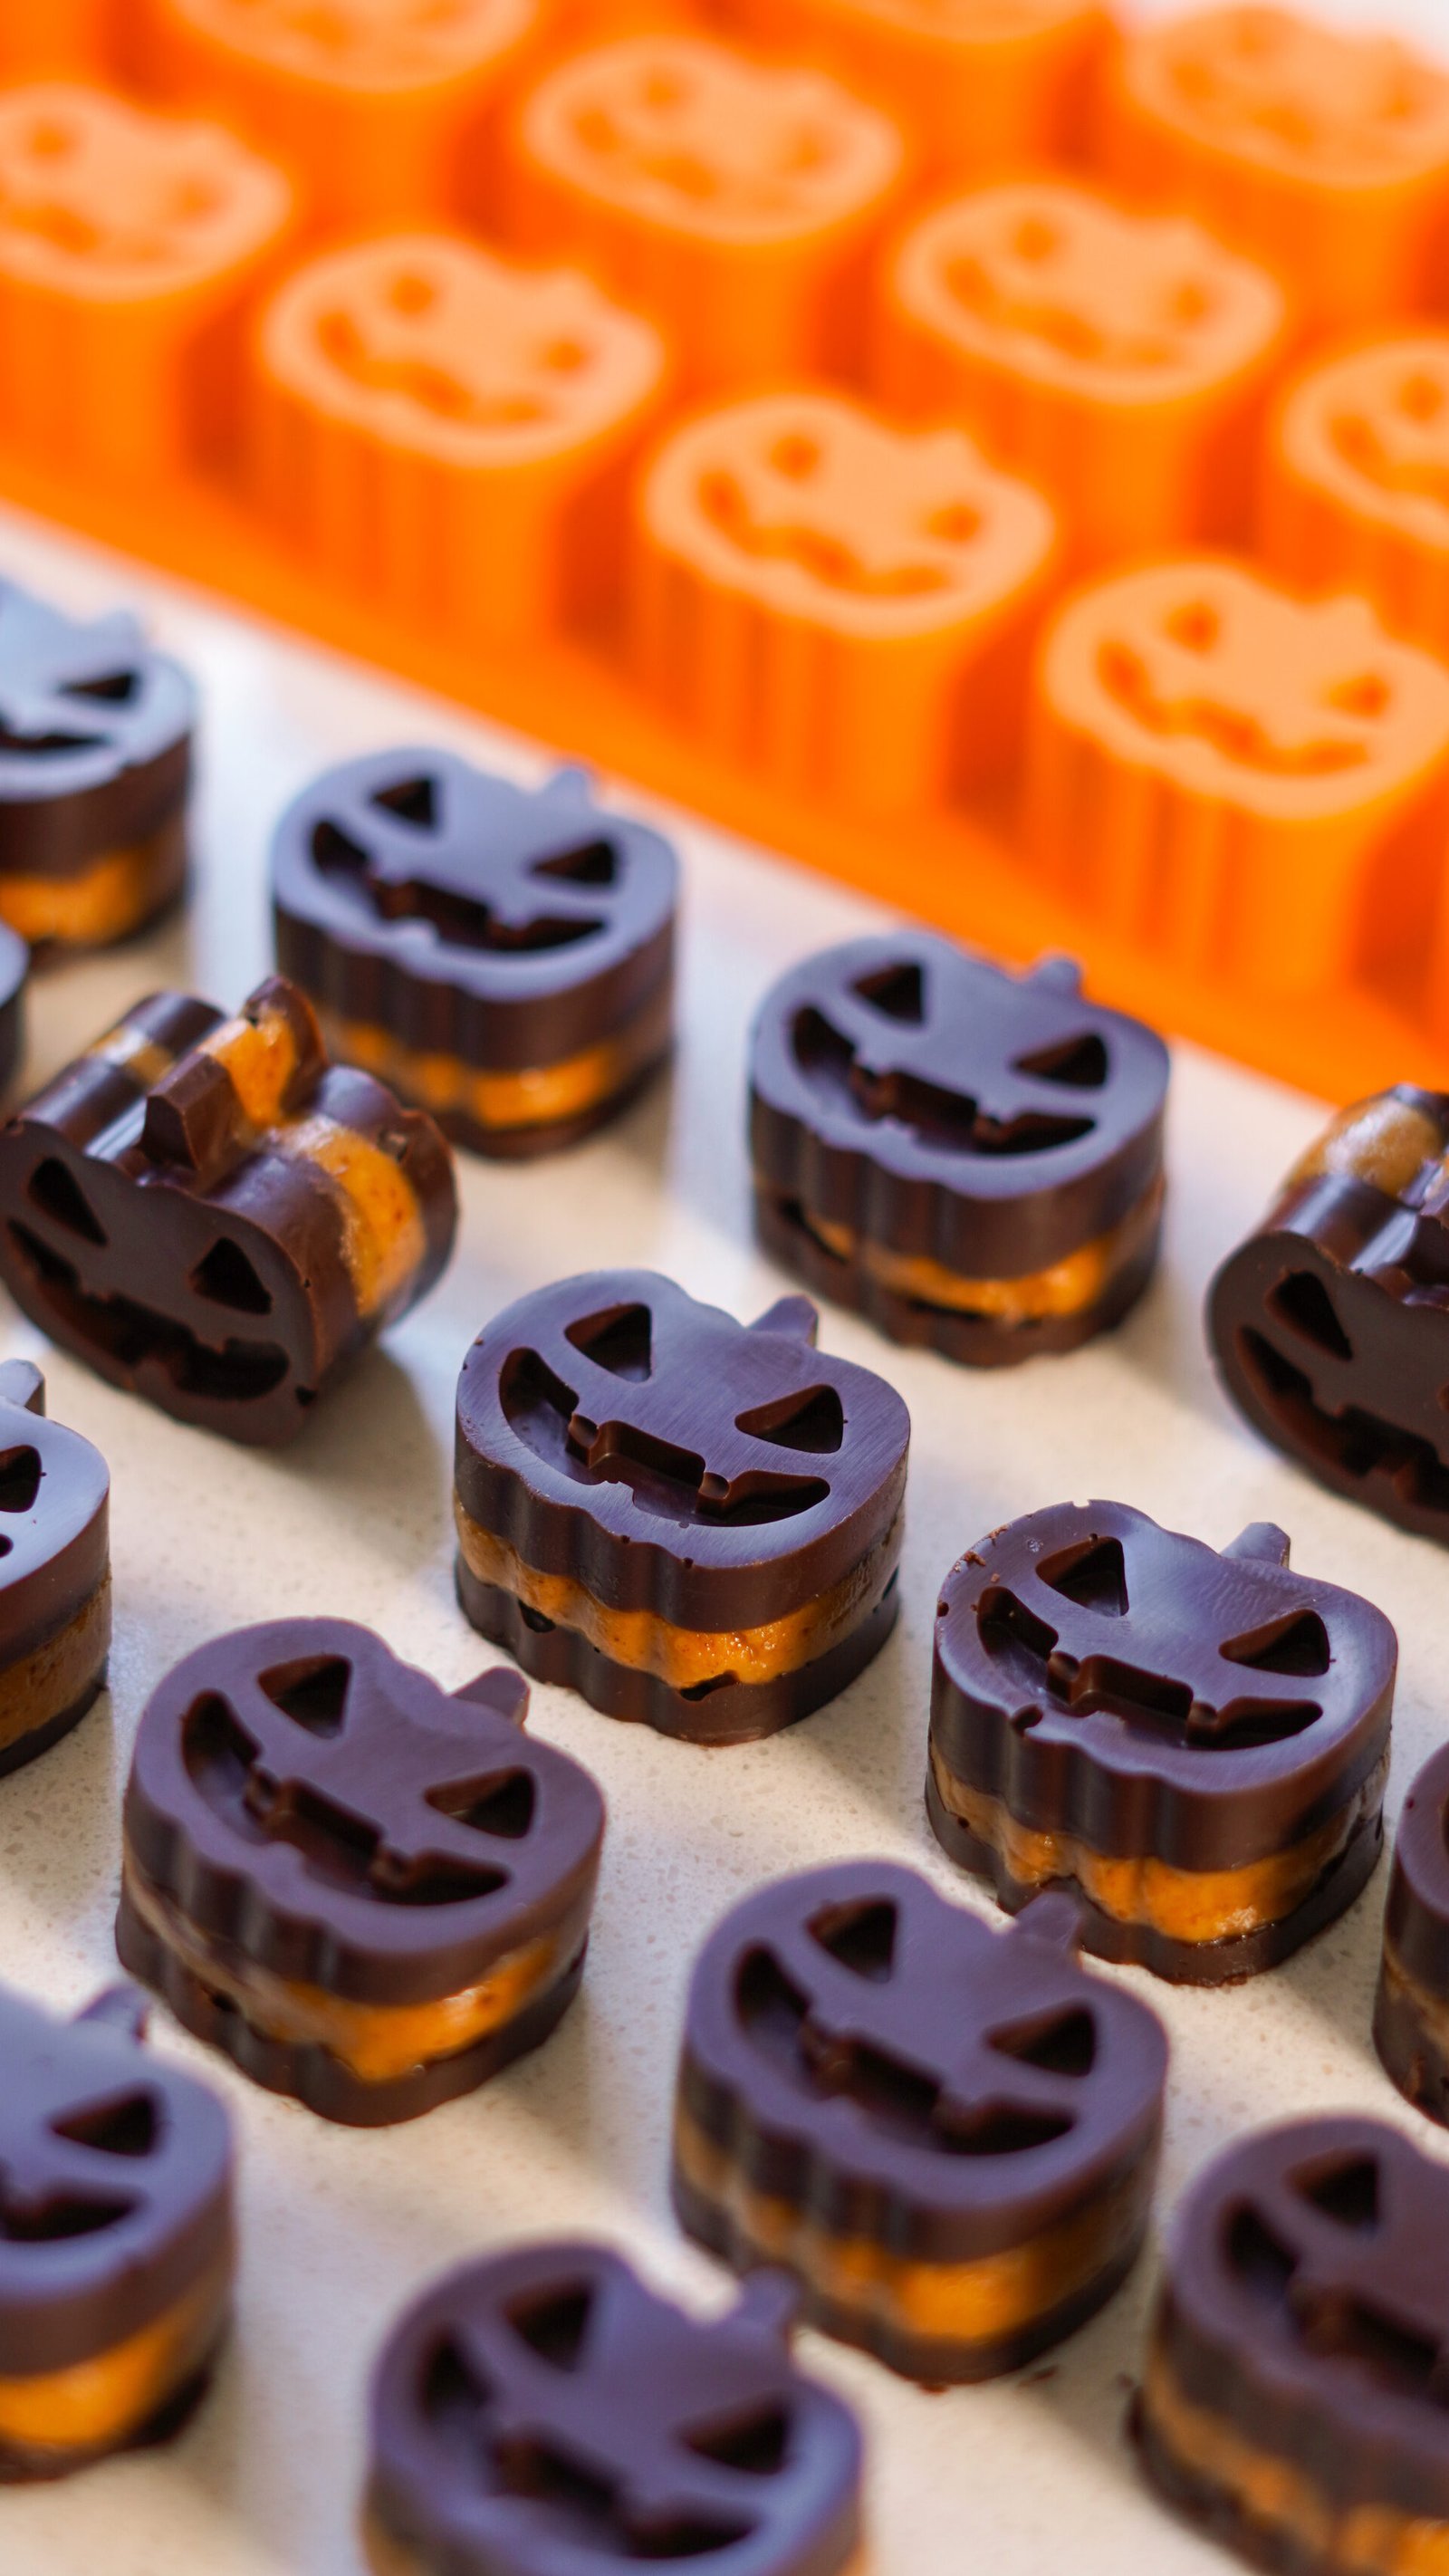
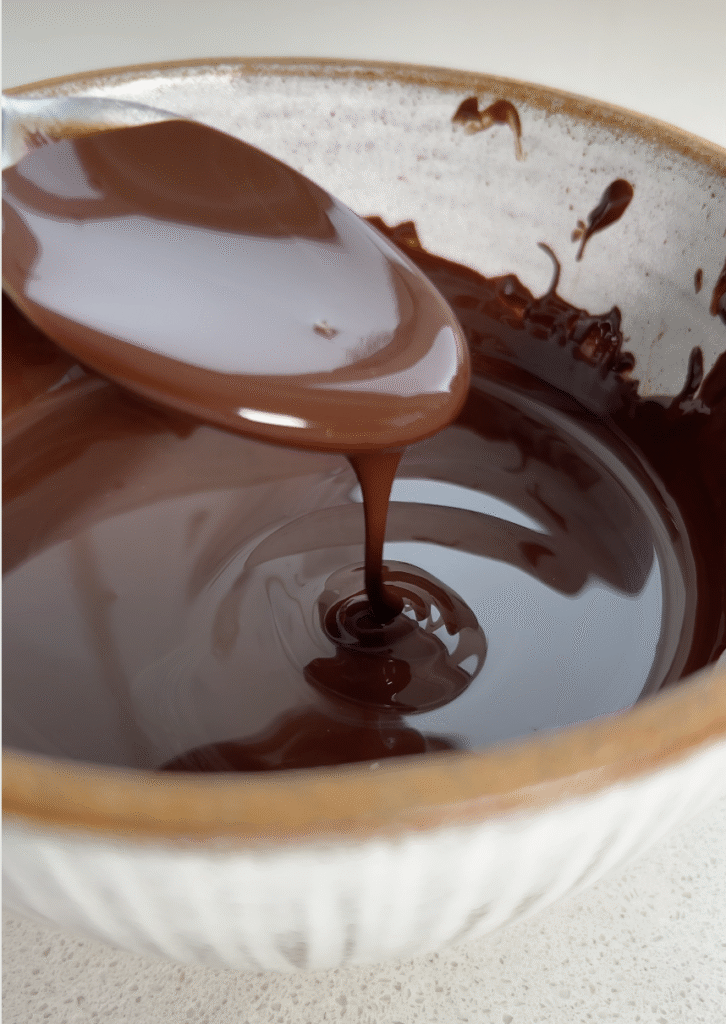
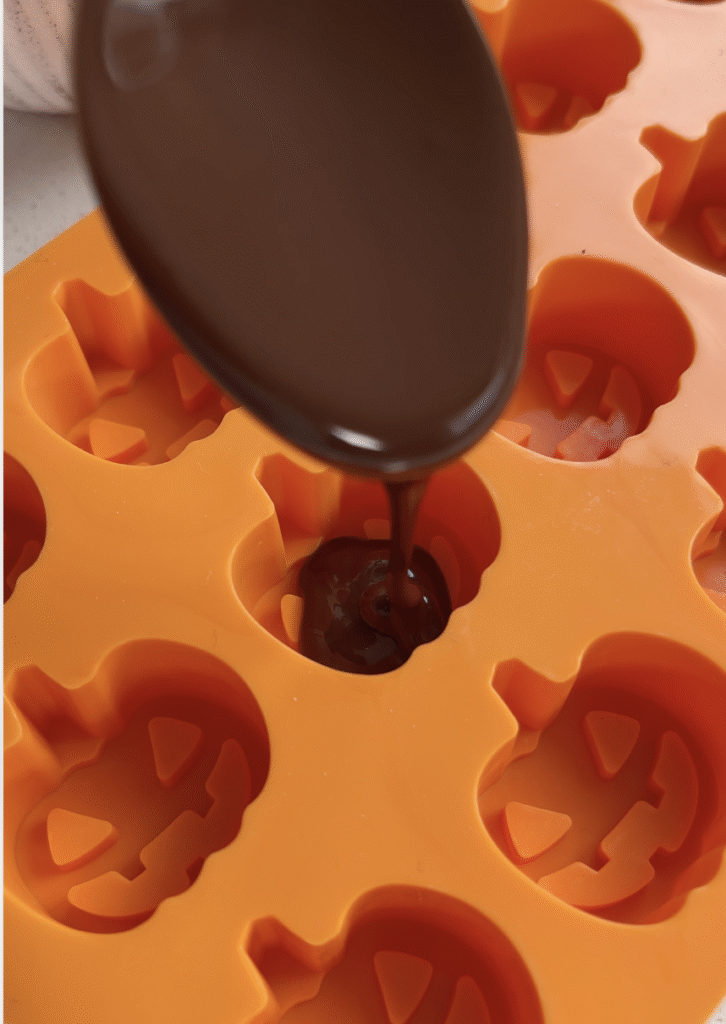
Step 1 – Melt the chocolate until smooth. Step 2 – Mix the filling until thick and creamy. Step 3 – Spoon a little melted chocolate into the moulds. Step 4 – Add the filling on top of the chocolate base. Step 5 – Add the last layer of chocolate to coat. Step 6 – Pop the chocolates out of the mould once set.

Tips
- Use good quality dark chocolate: It makes all the difference for flavour and texture.
- Powdered peanut butter: This keeps the filling light and less oily. If you can’t find it, you can just use more regular peanut butter but reduce the maple syrup a little.
- Press the peanut butter dough firmly: This prevents the filling from falling apart when eating.
- Freeze, don’t refrigerate: Freezing helps the chocolate set faster and keeps the shape intact.
Swaps
Dark chocolate: Any good quality chocolate works. Use vegan or dairy-free chocolate to make this recipe vegan.
Peanut butter: Almond butter or cashew butter are great alternatives, but note the flavour will change.
Powdered peanut butter: You can skip this and just use more regular peanut butter, but the texture might be less firm.
Maple syrup: Honey or agave syrup works just as well.
Storage
Fridge: Store any leftovers in an airtight container for up to 2 days. Enjoy them cold or let them sit at room temperature for a few minutes before eating.
Freezer: These peanut butter cups freeze well for up to 1 month. Defrost in the fridge overnight for the best texture.
Looking For Another Halloween Treat?
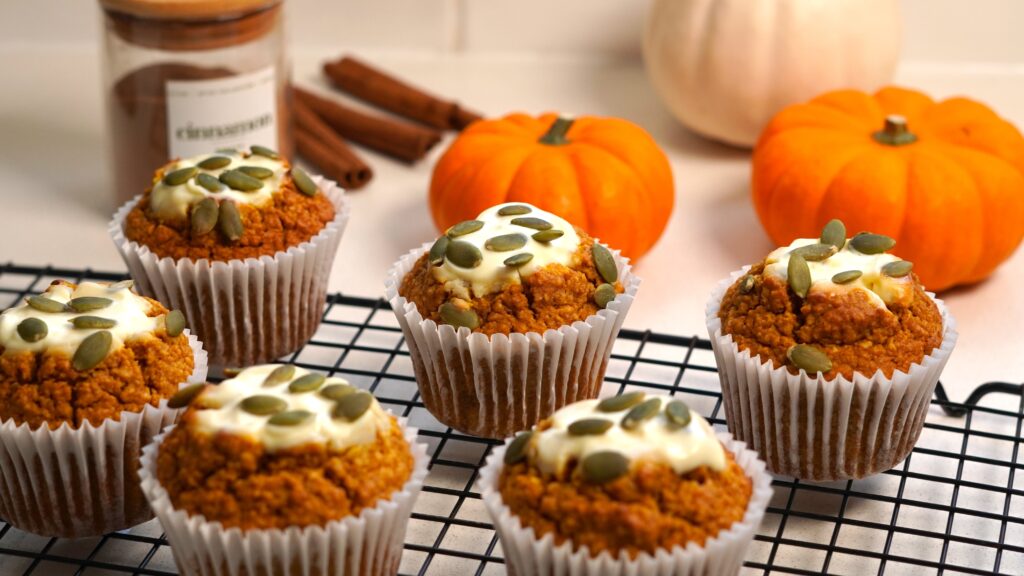
Try my Pumpkin Cream Cheese Muffins! A great one-bowl recipe which is perfect for the season.
More Sweet Bites
- 4-Ingredient Cashew Chocolate Bites
- Healthy 5-Ingredient No-Bake Carrot Cake Bites
- 5 Ingredients Healthy Sweet Bites
- No Bake Pecan Pie Bites
Halloween Peanut Butter Bites
Video
Ingredients
- 100 g dark chocolate, chopped (or chocolate chips)
- 60 g peanut butter
- 1 tsp powdered peanut butter
- 1 tbsp maple syrup
Instructions
- Chop the chocolate and melt it in the microwave for 45 seconds to 1 minute, stirring halfway through to help it melt evenly.
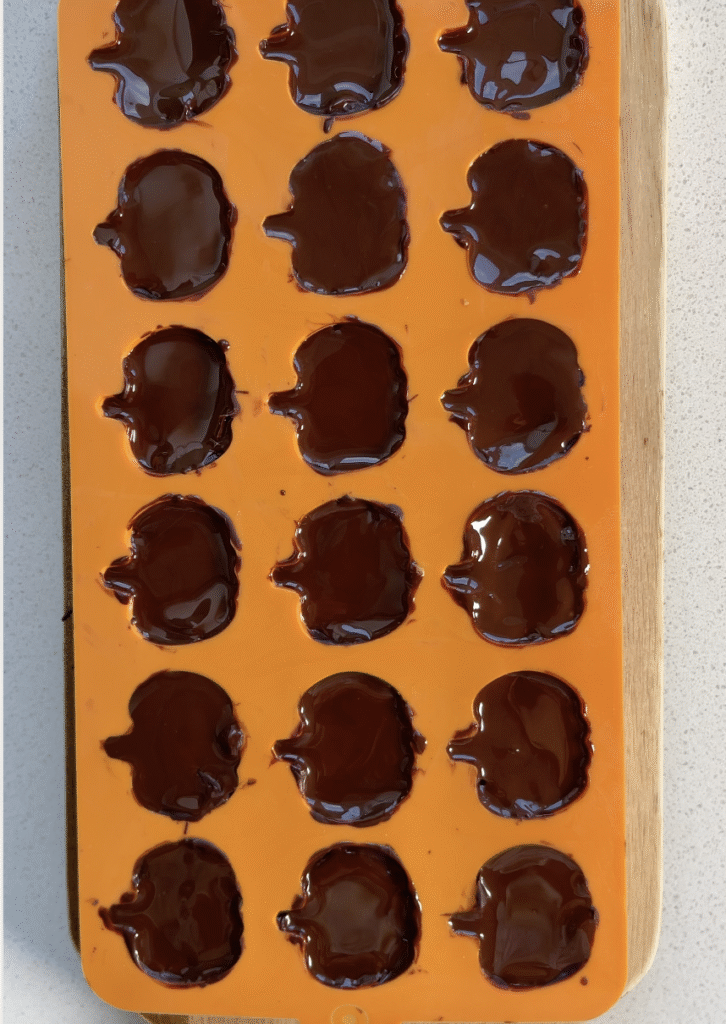
- Pour about two-thirds of the melted chocolate into your Halloween mould and place it in the freezer for 2–5 minutes, just until it firms up.
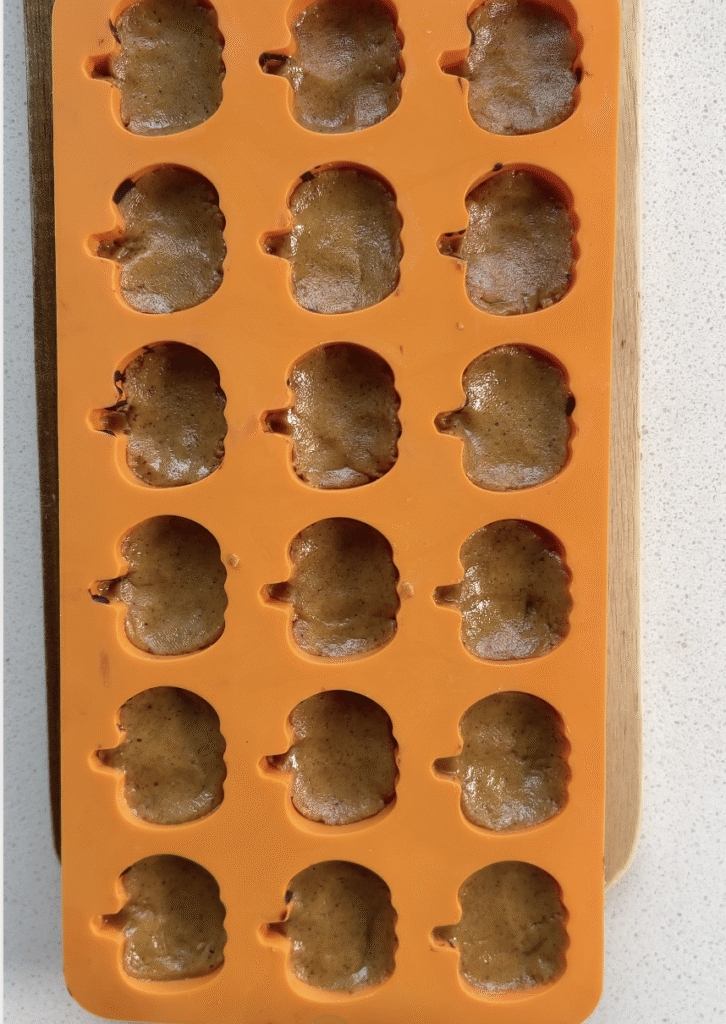
- Meanwhile, mix the peanut butter, powdered peanut butter, and maple syrup in a small bowl. I like to add a pinch of salt here too—it really brings out the flavour—but that’s optional. Stir until a thick, compact dough forms.
- Spoon about ½ teaspoon of the peanut butter mixture into each mould, pressing it down gently with your fingers so it fits neatly into the shape. It should be just enough to fill all the moulds (mine made x pieces).
- Finally, pour the remaining melted chocolate over the top to seal in the filling, then pop the moulds back into the freezer for about 5 minutes until fully set.
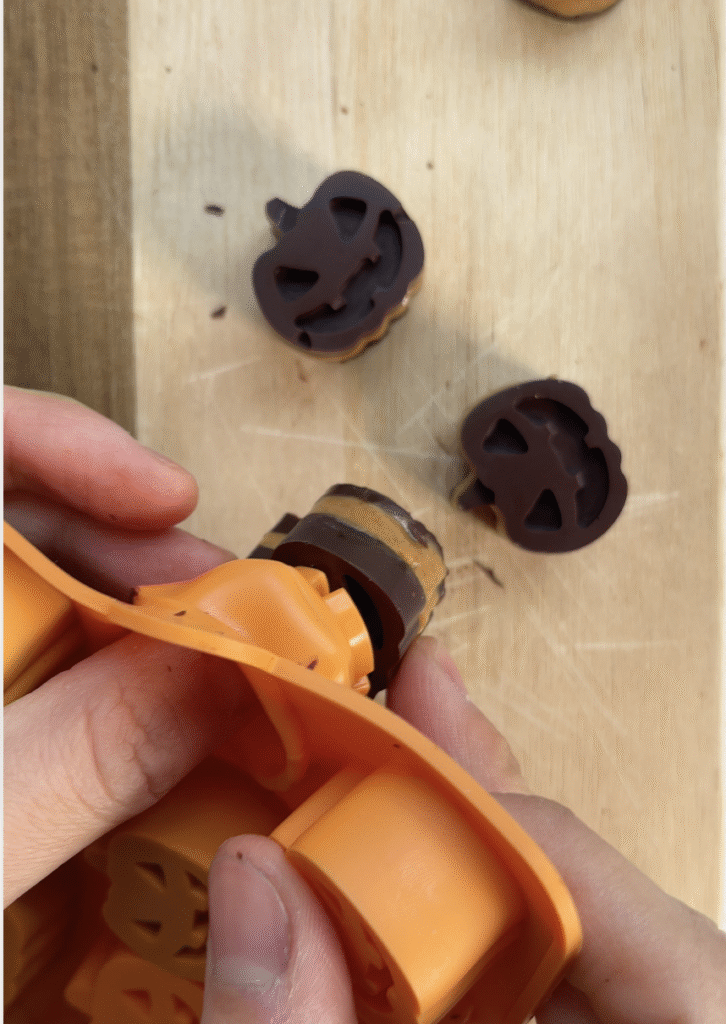
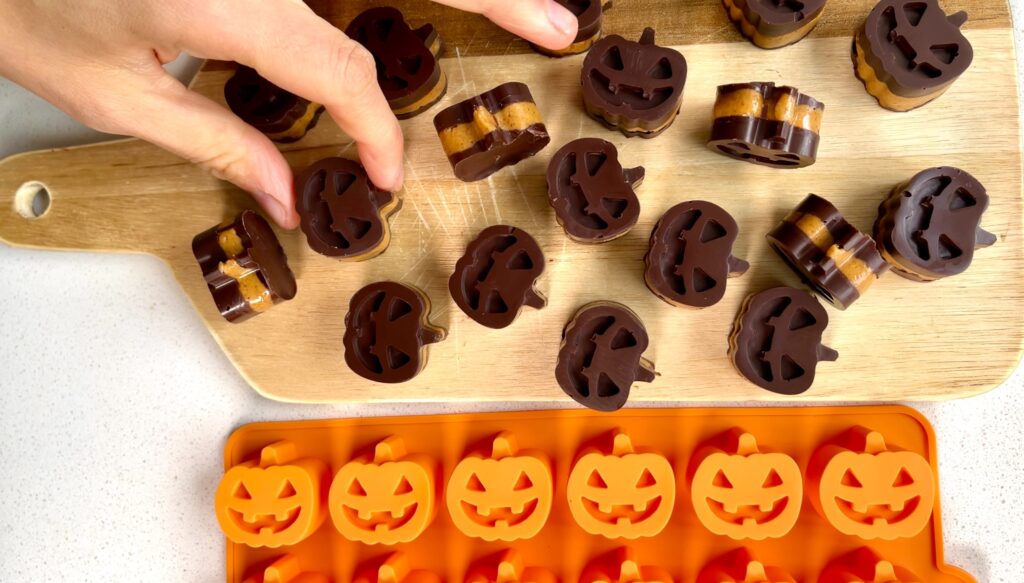
- Once firm, just pop them out and enjoy your homemade Halloween peanut butter chocolates!