 Florencia Baldini Last Updated on May 9, 2026
This easy focaccia recipe is the best you’ll ever try—no kneading, no stand mixer, just perfect results every time. If you’ve ever thought making focaccia at home was too complicated—this is the recipe that will change your mind. No kneading, no fancy equipment, and no baking experience required. Just one bowl, five pantry ingredients, and a bit of resting time in a cosy oven with the light on (yes, that’s one of my secret tips!).
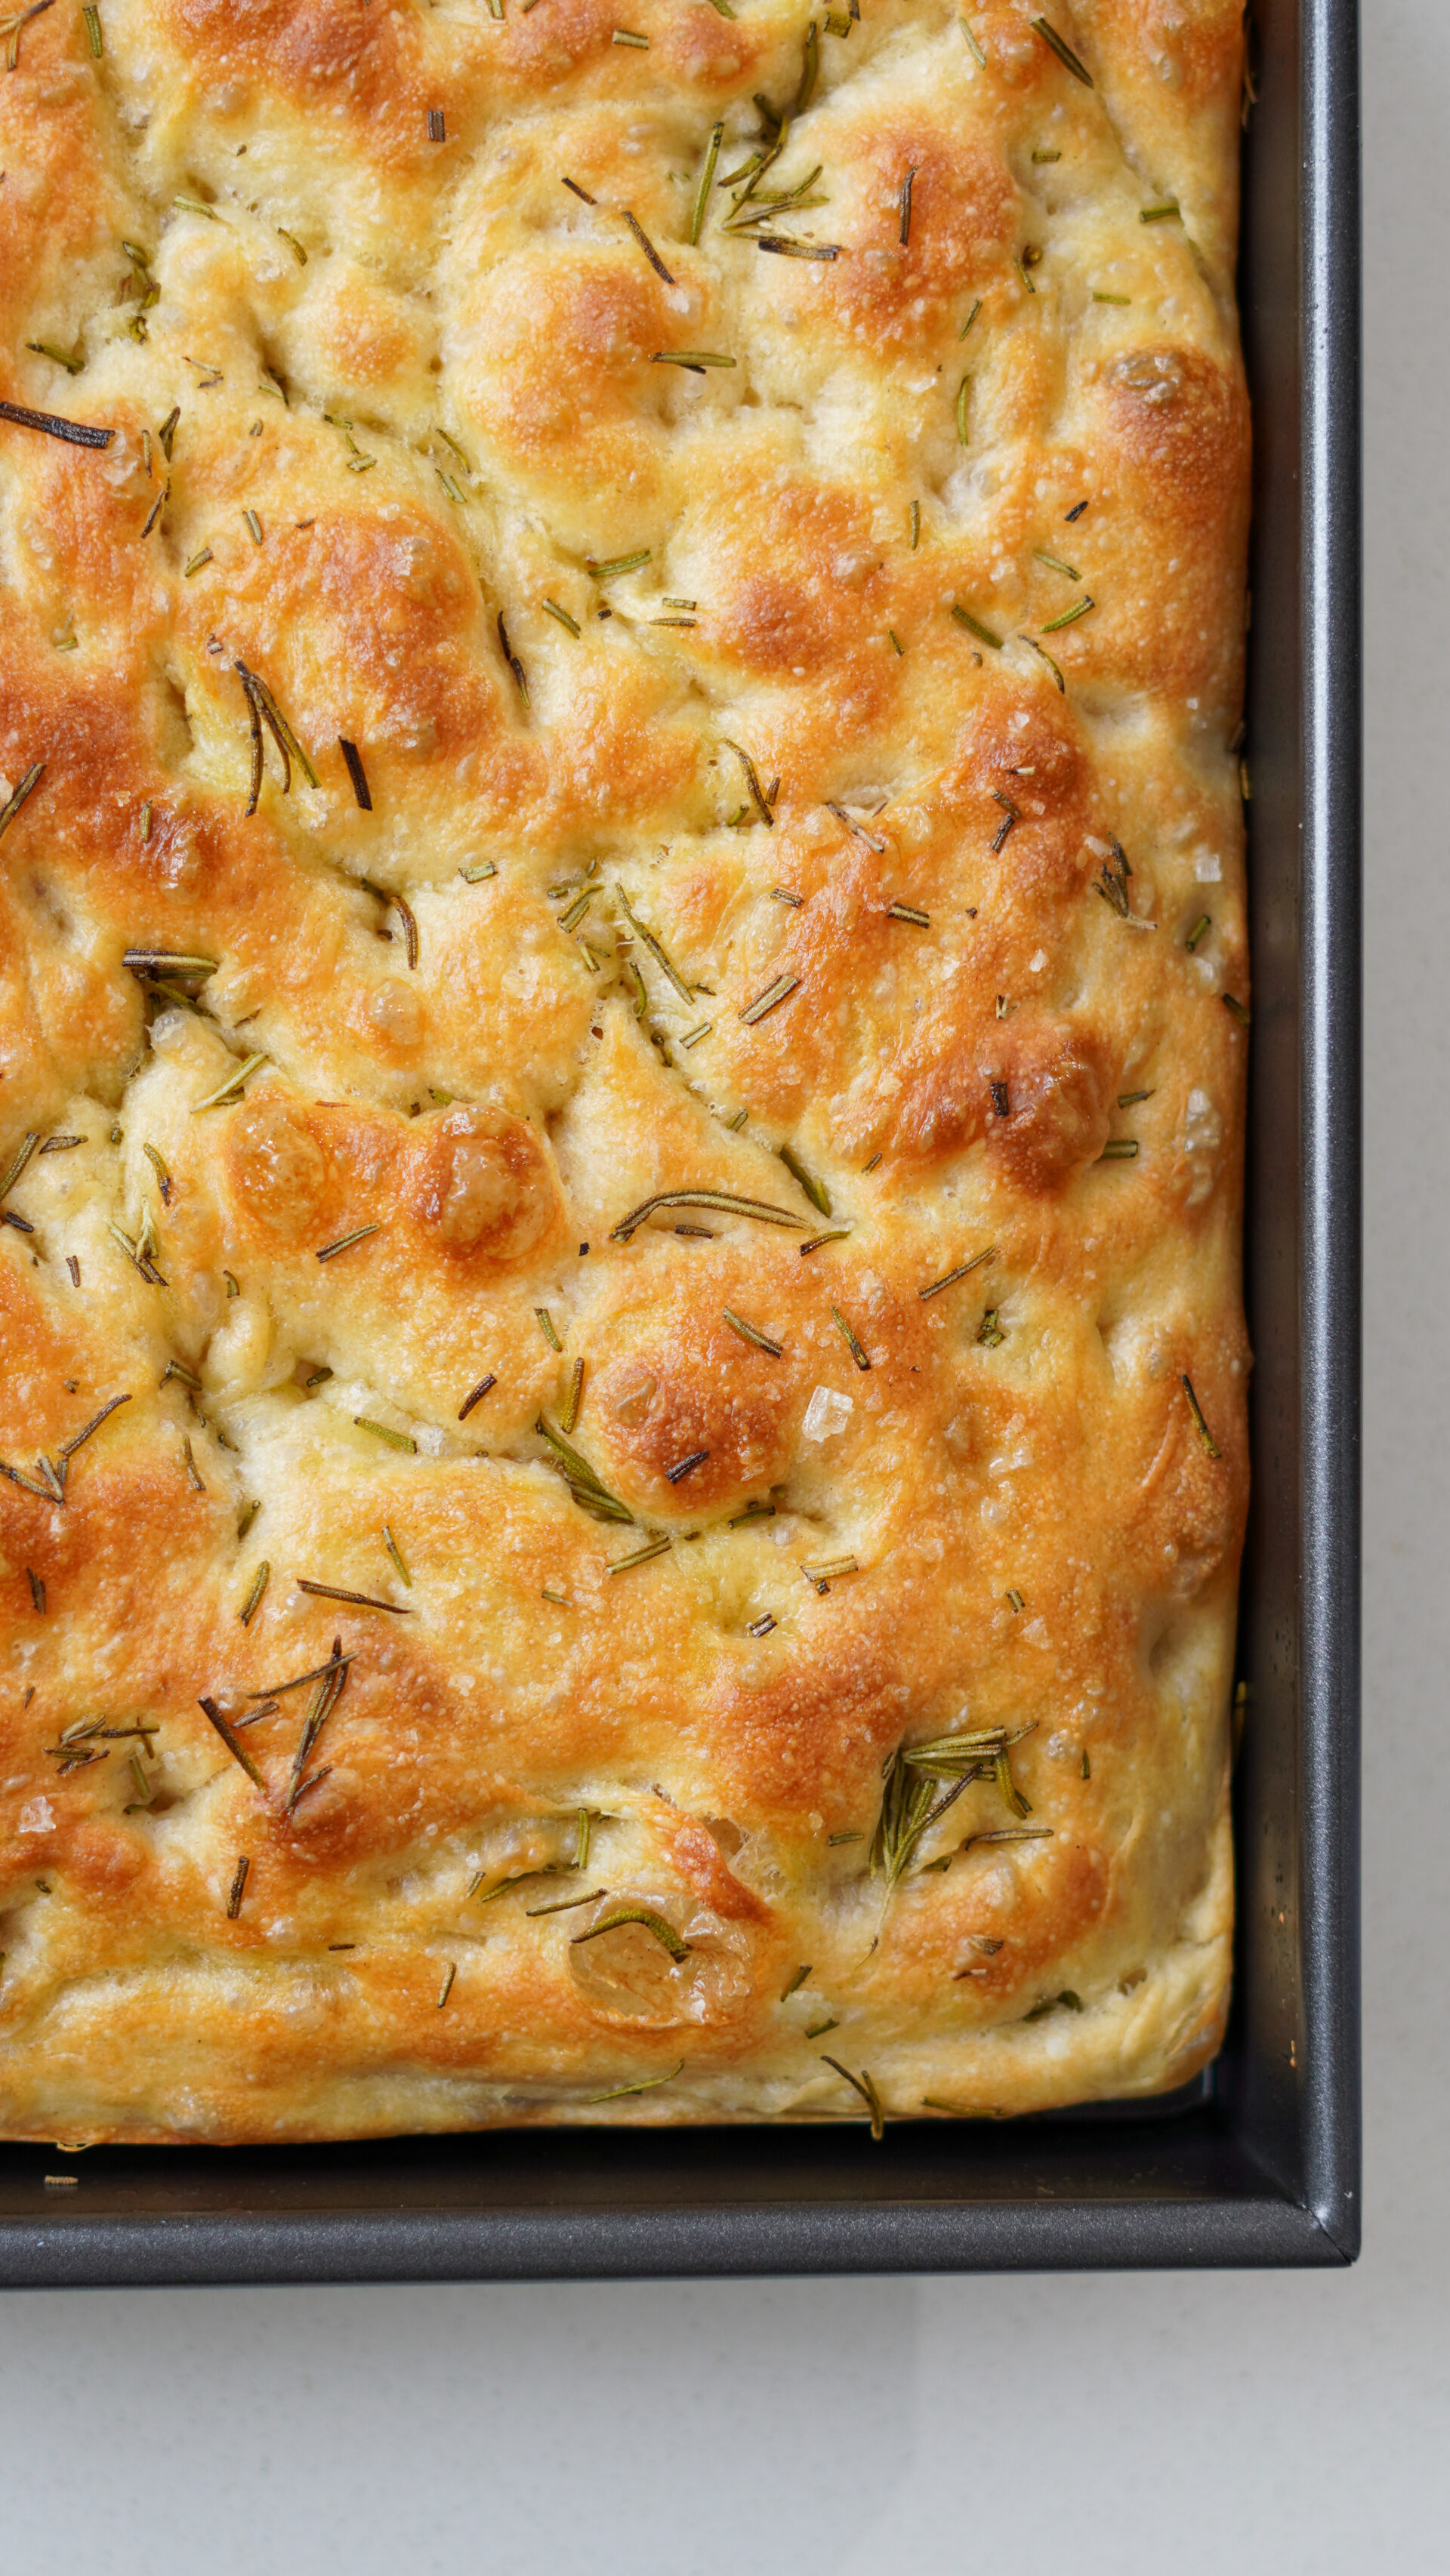
This is hands down the easiest focaccia recipe you’ll find online—and the result? A perfectly golden crust, a soft pillowy inside, and those signature dimples that soak up all the extra virgin olive oil and flaky salt. I’ve made this recipe more times than I can count and tested it for you until it came out just right. It’s ready in under two hours, perfect for busy days, and ideal if you want to impress guests without stress.
It’s also super customisable: top it with rosemary and flaky salt like I did, or try olives, cherry tomatoes, garlic, or even caramelised onions. Whether you’re serving it with soup, making sandwiches, or just enjoying it warm out of the oven, this focaccia always gets a “Buonissimo!”
What Is ‘Focaccia’?
Focaccia is a traditional Italian flatbread that’s soft on the inside with a crisp, golden top. It originates from Liguria, in Northern Italy, and is often flavoured with olive oil, herbs like rosemary, and sea salt. It’s similar to pizza dough in ingredients but much easier to make at home—and you can enjoy it as a side, a sandwich base, or even on its own.
Why This Focaccia Is Perfect for Total Beginners
Most bread recipes can feel intimidating, especially if you’re new to baking. But this focaccia is different—it’s designed to be totally foolproof. There’s no kneading, no fancy equipment, and no complicated techniques. You just mix the ingredients with a spoon, let the dough rest, and use your hands to stretch and fold it (don’t worry, I guide you through every step!). Even if you’ve never made bread before, this method guarantees soft, fluffy focaccia with that signature golden crust and airy texture. It’s the kind of recipe that builds confidence—and delivers every time.
How to Make Focaccia, One Photo at a Time
One of my favourite things about making focaccia is how visual the whole process is — you can actually see the dough come alive. From the moment you mix that shaggy, sticky dough to watching those signature dimples fill with golden olive oil, every step tells you exactly where you are in the process. So I’ve put together a full photo walkthrough below, because this is genuinely one of those recipes where seeing it makes all the difference. Whether it’s your first time or your fifth, follow along frame by frame and I promise it’ll feel totally doable — and so, so worth it.
Hover On Each Step To Read The Instructions
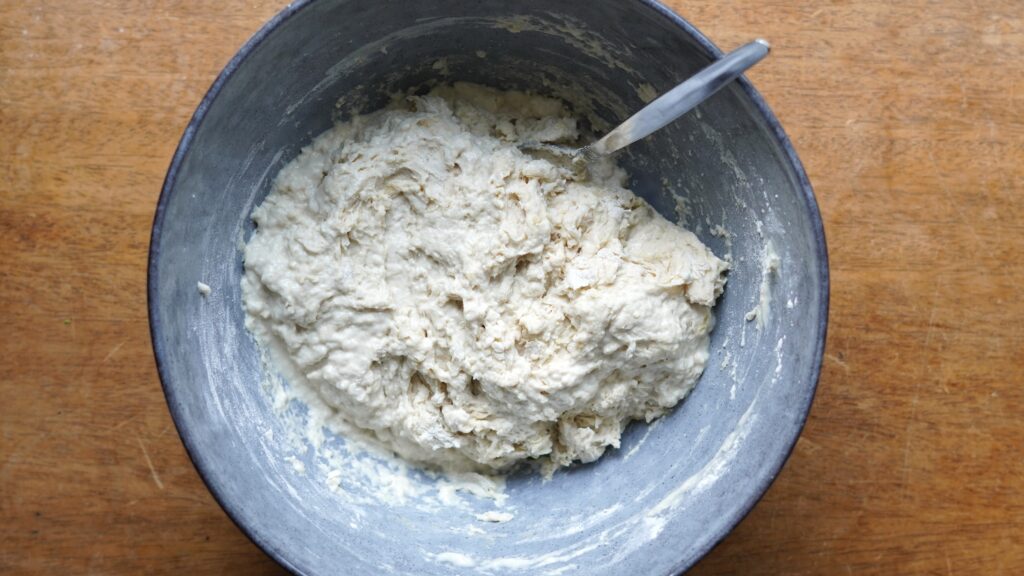
 1. Mix all the ingredients together following the order listed in the recipe card. Use a wooden spoon or spatula to combine — it will look rough, shaggy, and very sticky at this stage. That’s completely normal, don’t worry!
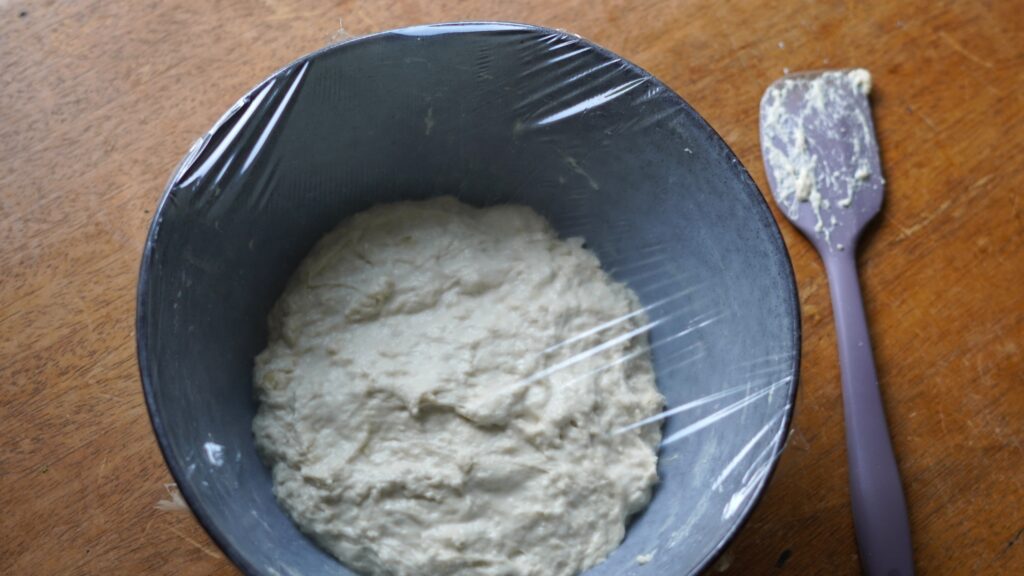
- 2. Using a silicone spatula, scrape down the edges of the bowl so you don’t waste any dough. Cover tightly with cling film, then place in the oven — turned off, with just the light on.
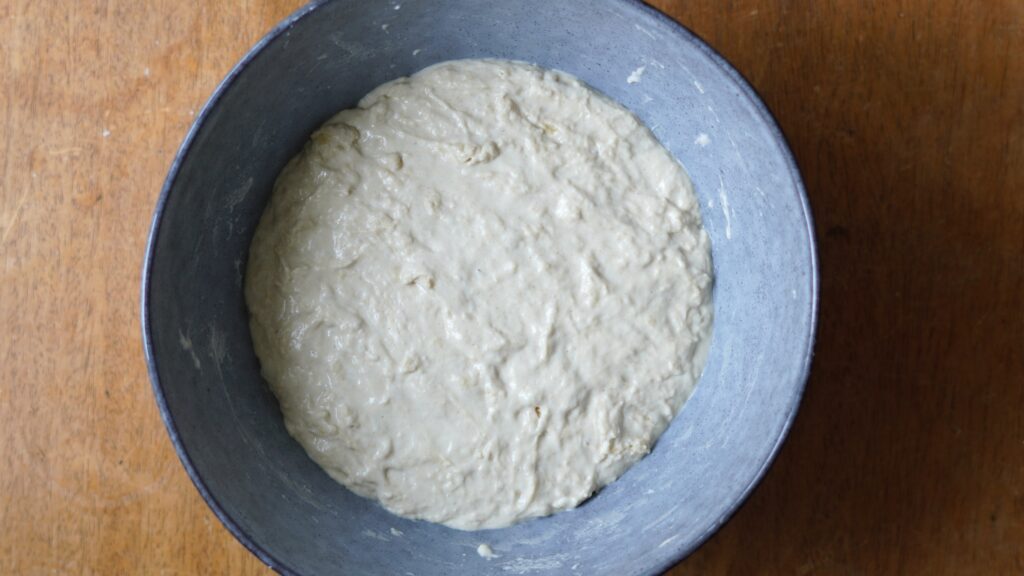
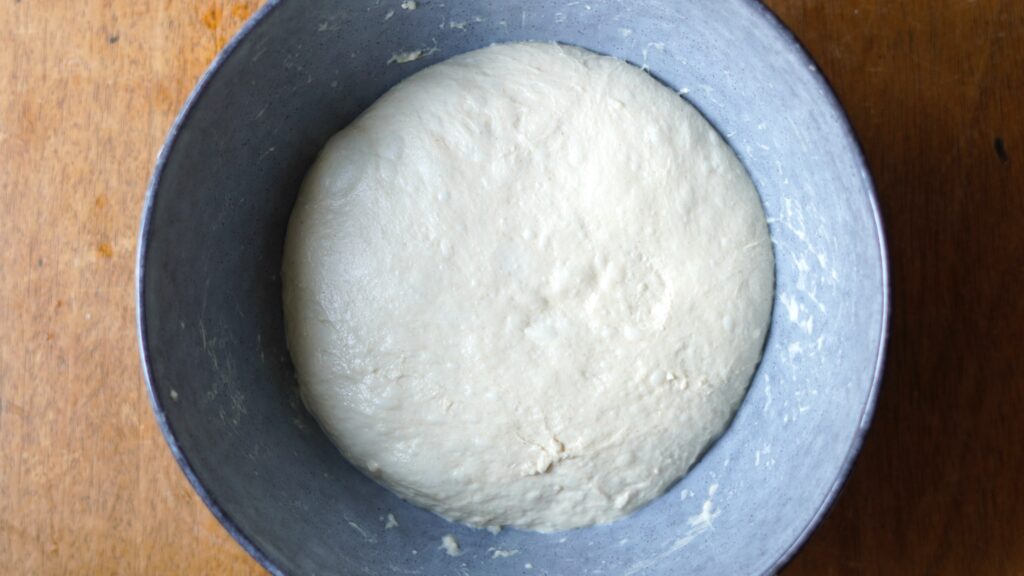
- 3. After 30 minutes, the dough will look like this — slightly risen and a little smoother on the surface. It’s doing its thing!
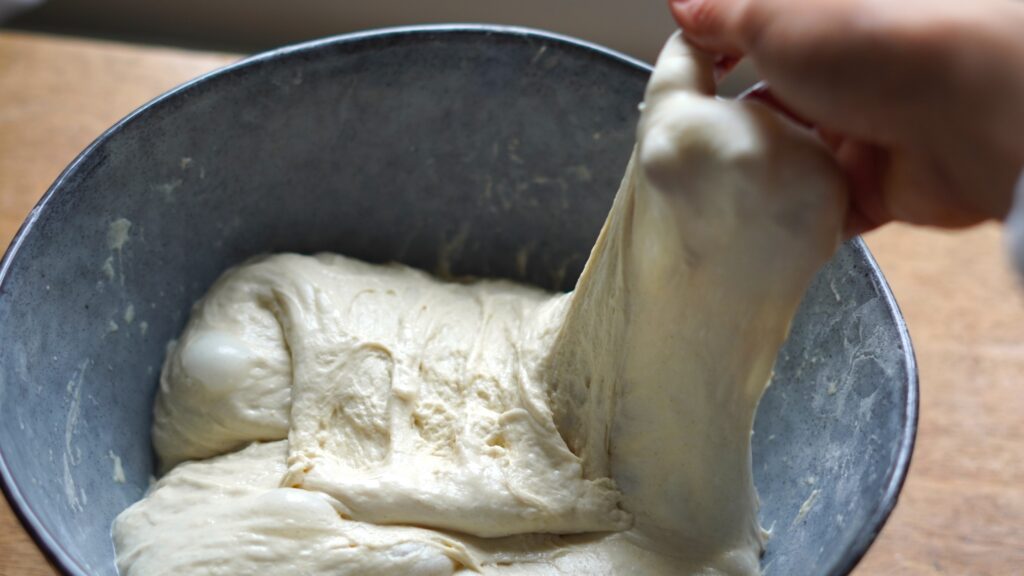
- 4. Time to do the folds, exactly as explained in the recipe card below. If you’re unsure, watch the video for a clear visual guide — it really helps! Once the folds are done, cover again with cling film and pop it back in the oven for another 30 minutes.
- 5. After the resting time, remove from the oven — it should look just like this.
- 6. Repeat the folding process one more time, exactly as before.
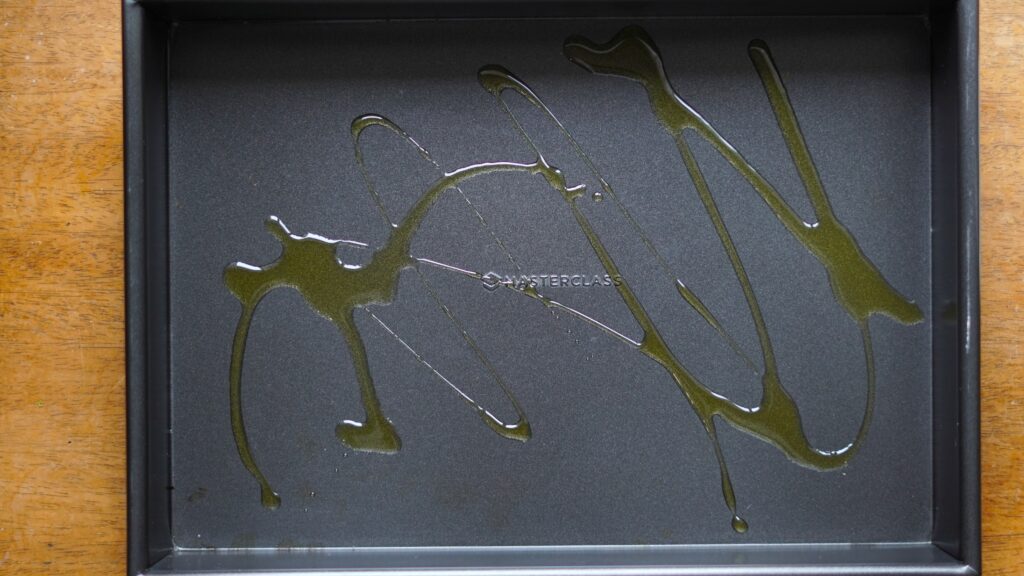
- 7. Prepare your baking tray (35 x 24 come – 13.8 x 9.4 in) by drizzling it generously with extra virgin olive oil. Use your hands to spread the oil across the entire surface, right to the edges — this is important to make sure the dough doesn’t stick when baking.
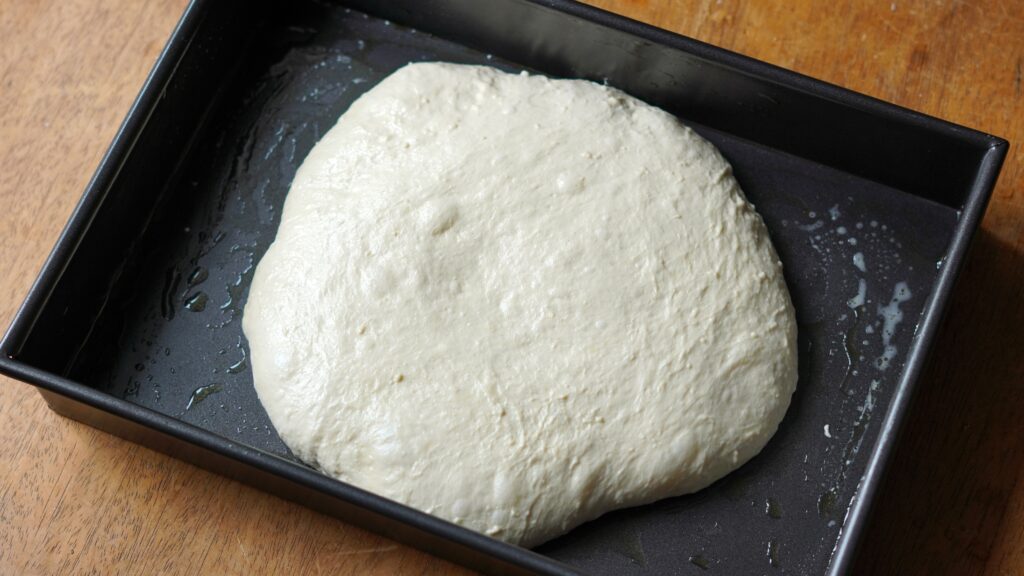
- 8. Gently lift the dough with both hands and stretch it slightly. You’re not trying to force it — just encourage it to spread as much as it naturally wants to. Use the photo here as a reference. Cover with cling film and return to the oven. After 30 minutes, the dough will have doubled in size and filled the entire tray beautifully.
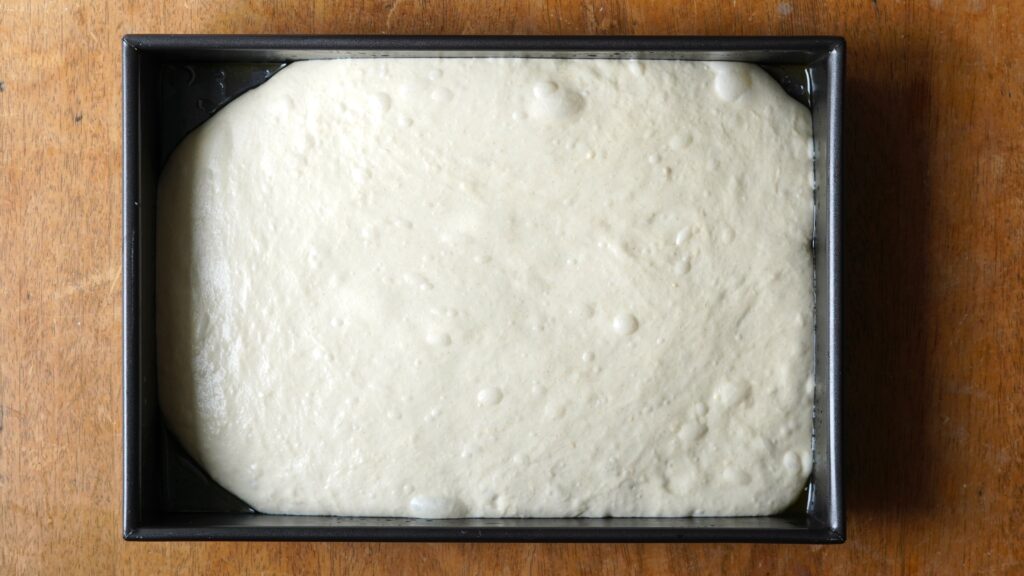
- 9. After 30 minutes, the dough will have doubled in size and filled the entire tray beautifully.
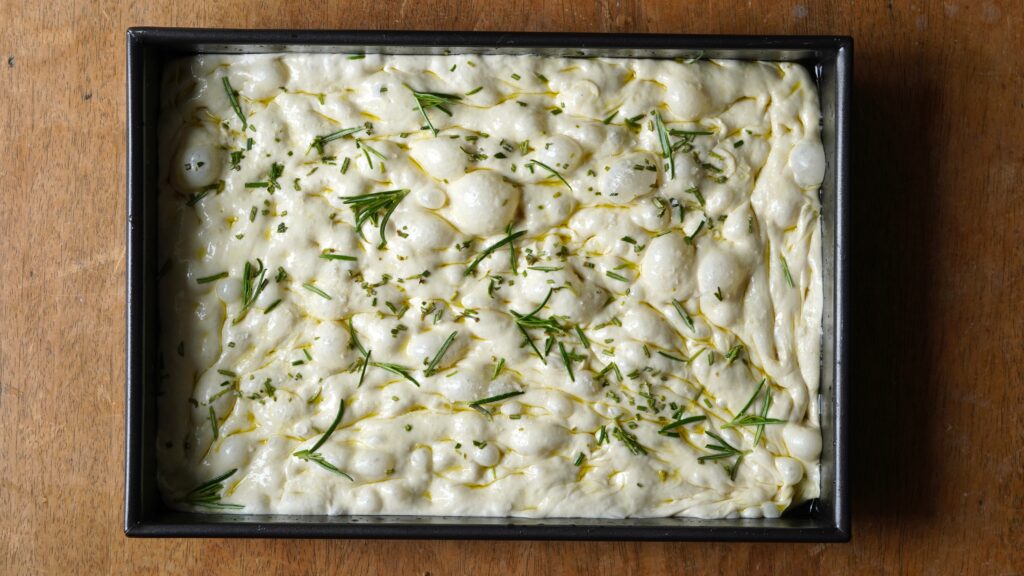
- 9. Now for the best part! Using your fingers, press deep dimples all over the surface of the dough — be gentle but confident. Scatter over fresh rosemary and a generous pinch of flaky salt, and it’s ready for the oven.

Topping Ideas
Savoury Toppings
- Cherry tomatoes + oregano + garlic slices
- Caramelised onions + rosemary + flaky salt
- Black olives + capers + thyme
- Sun-dried tomatoes + feta or goat cheese
- Sliced red onion + za’atar + olive oil drizzle
- Roasted garlic cloves + Parmesan
- Courgette ribbons + lemon zest + chilli flakes
- Mushrooms + truffle oil + parsley
Cheesy Options
- Mozzarella pearls + basil + cherry tomatoes (like a Caprese-style)
- Gorgonzola + walnuts + honey (sweet-savory contrast)
- Grated Pecorino + cracked black pepper (Cacio e pepe-inspired)
Sweet Twist
- Sliced grapes + rosemary + honey drizzle
- Figs + ricotta + balsamic glaze
Ways To Enjoy Focaccia
- Dipped in olive oil & balsamic vinegar: A classic Italian appetiser that never disappoints. Add a pinch of flaky salt or crushed garlic to the oil for even more flavour.
- As a side with soup or salad: Perfect with a bowl of Roasted Tomato Soup, Gut Health Soup, or something fresh like my Peperonata (Italian Pepper Stew) or Broccoli & Chickpea Cesar Salad
- For sandwiches: Slice horizontally and fill with roasted vegetables, cheese, or Italian cold cuts—makes the best sandwich bread! Try the filling from this recipe Italian-Inspired Chickpea Toast, I think it is the perfect match
- Topped with burrata or mozzarella: Add fresh tomatoes, basil, and a drizzle of olive oil for a caprese-style twist.
- With breakfast: Yes, focaccia for breakfast! Try it toasted with avocado or a poached egg on top, or the filling from my Air Fryer Egg Sandwich
- Turn it into mini pizza slices: Add sauce, cheese, and toppings, then bake for a few minutes. It’s a great snack for kids (and adults too!).
Tips
- Don’t mix yeast and salt directly: Add the salt last so it doesn’t inhibit the yeast.
- Oven off, light on: Rest your dough inside with the oven light on to create the perfect warm environment for rising—especially helpful in colder months.
- Use the right tray size (35×24 cm): Too small, and the dough gets too thick; too big, and it spreads too thin and dries out. This size is perfect for bubbly focaccia.
Swaps
Bread flour: You can use plain flour, but bread flour gives better bubbles and texture.
Rosemary: Try oregano, thyme, or chopped olives for a flavour twist.
Storage
Room temperature: Store in an airtight container for 1–2 days.
Freezer: Slice and freeze in a zip-top bag. Reheat in the oven until warm and crisp.
More Staple Italian recipes
- Easy Pesto alla Genovese – Authentic Italian Pesto
- Gnudi – Tuscan Ricotta & Spinach Dumplings
- Bruschetta
- Cazzilli (Sicilian Potato Croquette)

Focaccia
Video
Ingredients
- 500 g bread flour
- 400 ml warm water,, really important!
- 2 tsp dry yeast
- 20 ml extra virgin olive oil
- 2 tsp salt
Toppings
- rosemary, chopped
- flaky salt
Instructions
- In a large bowl, add water, yeast, and oil. Mix well.
- Add flour and salt. Stir with a spoon until combined. The dough will look rough — don’t worry, that’s perfectly fine.
- Cover the bowl with cling film and let it rest for 30 minutes in the oven. The oven should be OFF but the light ON — this creates the perfect warm environment for your dough to rise.
- After 30 minutes, it’s time to make the dough “dance”: scoop the dough with your hands, lift so it stretches, and fold into the centre — repeat 5 times, once for each side.
- Then scoop, lift, and drop — again, repeat 5 times.
- You’ll notice the dough is smoother and has some tension on the surface.
- Rest again in the oven (OFF, light ON) for 30 minutes.
- Remove from the oven and repeat: scoop, lift, fold — 5 times; scoop, lift, drop — 5 times.
- Transfer the dough to a 35 x 24 cm (13.8 x 9.4 in) baking tray. Spread it gently with your hands (a little oil helps). Cover and rest for the final 30 minutes (oven OFF, light ON).
- Drizzle olive oil, massage the top, then add rosemary and flaky salt. Poke the surface to create classic focaccia dimples. Optional: flick a little water on top to help regulate moisture while baking.
- Bake in a preheated static oven at 230°C (450°F) for 15–18 minutes, until golden and puffed.
Notes
- Dairy-free – No milk, butter or yoghurt needed. Just olive oil for richness and flavour.
- Nut-free – Completely free from nuts, making it suitable for those with allergies.
- Vegan – As long as you stick to classic toppings like rosemary and salt, this focaccia is naturally vegan.
- No kneading required – The stretch-and-fold technique develops gluten without any hard work.
- No stand mixer needed – All you need is a bowl, a spoon, and your hands.
- Beginner-friendly – This recipe is designed for all levels, even if you’ve never baked bread before.
- Ready in under 2 hours – From start to finish, including resting time.
- One bowl, one tray – Minimal washing up needed.
- Perfect texture – Soft, airy crumb with crisp edges and beautiful bubbles throughout.