
 Florencia Baldini Last Updated on November 28, 2025
If you’ve ever dreamed of putting bakery-style bread on the table with zero stress and no fancy equipment, these no knead dinner rolls are for you. The dough is mixed in one bowl with a wooden spoon, there’s no machine to drag out, and absolutely no kneading. If you can stir, you can make them.
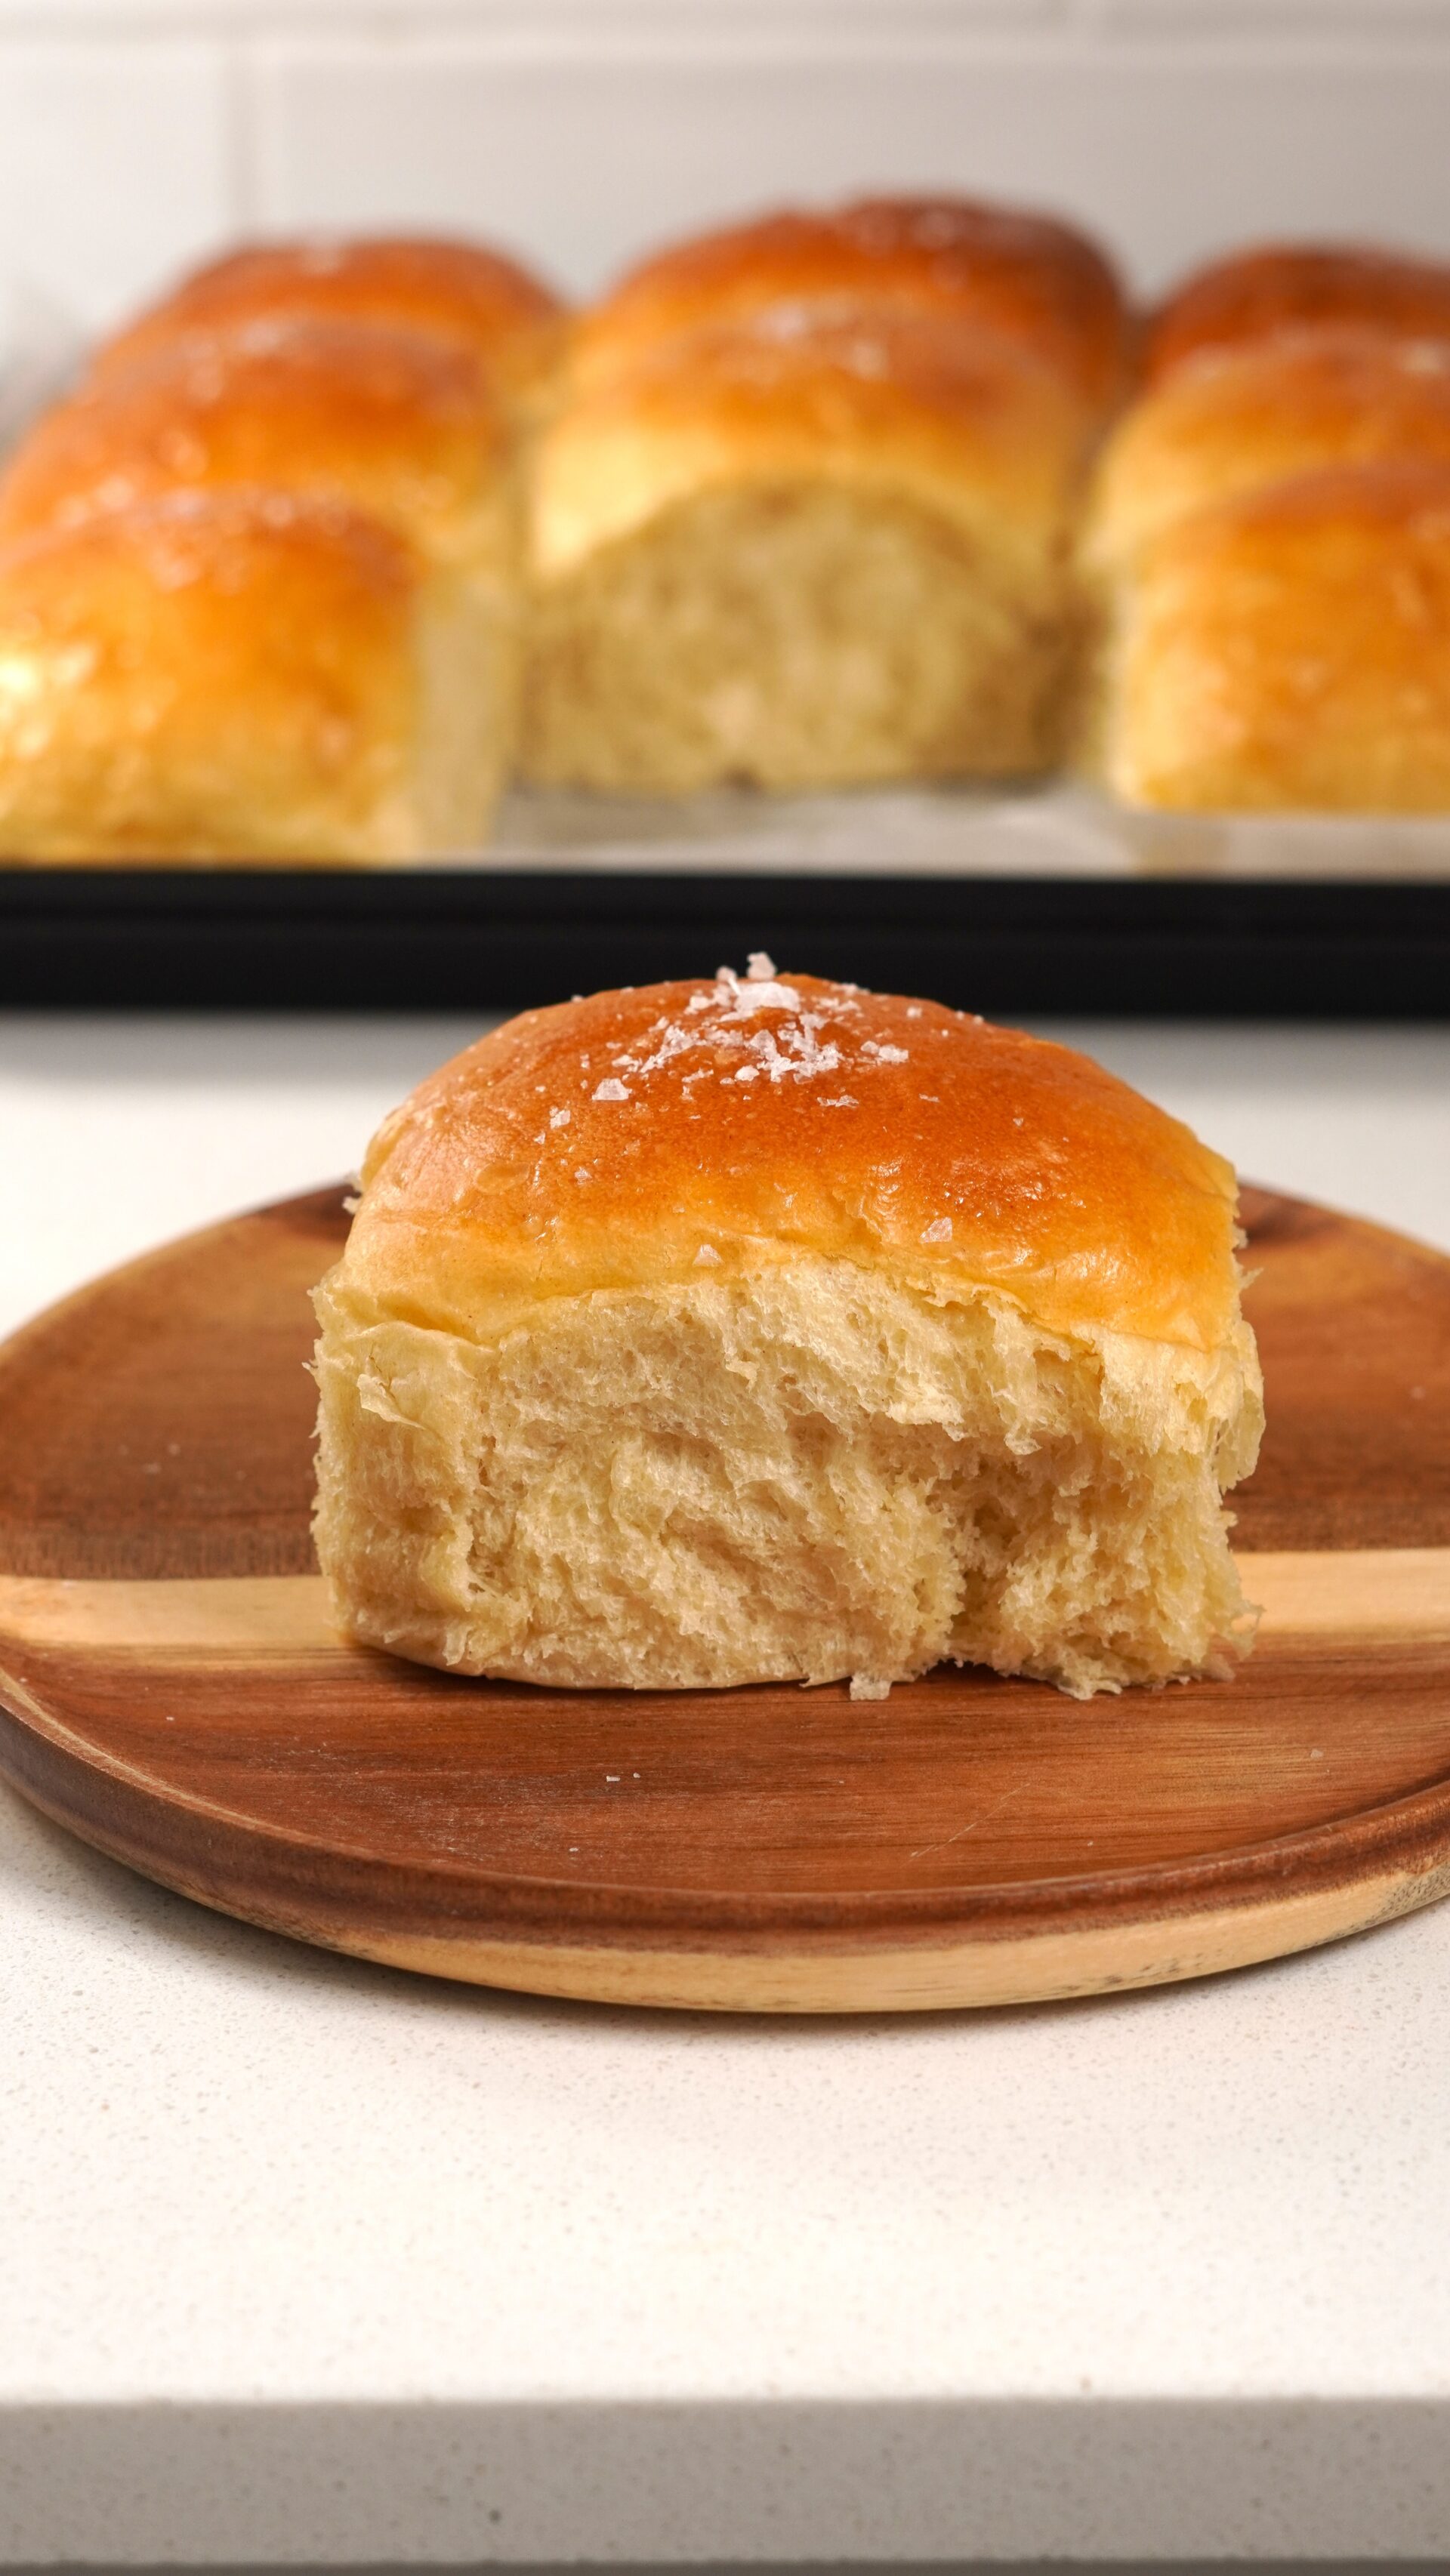
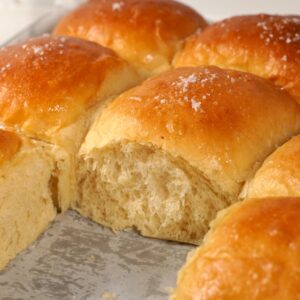
They come out incredibly soft and fluffy, with that classic “tear and share” texture you usually only get from a bakery. A touch of honey gives a gentle sweetness that works for everything – from your Sunday roast to Christmas dinner, or just alongside a bowl of soup on a Tuesday night.
I love these rolls for the holidays because you can make them with no previous bread-making experience and still feel like a pro. But they’re simple enough to enjoy any day of the week. Once you see how easy they are, you’ll want a batch rising on your counter all the time.
Tips & Hacks – Don’t Skip These!
- Use proper lukewarm liquid: Your water and milk should be around 38°C (100°F) — warm to the touch but not hot. Anything hotter can kill the yeast, and anything too cold will slow down the rise.
- Create the perfect warm rising environment: Even in colder months, you can easily proof your dough. Place the covered bowl inside your oven (the oven stays completely OFF) and switch the oven light ON. The gentle warmth from the light creates the perfect temperature for a high, fluffy rise every time.
- Use a damp cloth for the first rise: Cover the bowl with a damp clean tea towel. This prevents the dough from forming a dry “skin” on top, which can stop an even rise.
- Avoid adding too much extra flour: It’s tempting to keep dusting the dough, but adding too much flour can make your rolls dense. Keep the flour light — just enough to handle the dough without sticking.
- Use oil on your hands, not more flour: This is my favourite trick! Rub a little oil on your hands when shaping the dough. It stops the dough from sticking and keeps it soft, smooth, and easy to work with, without drying it out.
- No need to knead: Don’t knead the dough like classic bread. The magic of this recipe is that it stays sticky — that’s exactly what gives you that soft, fluffy, bakery-style texture.
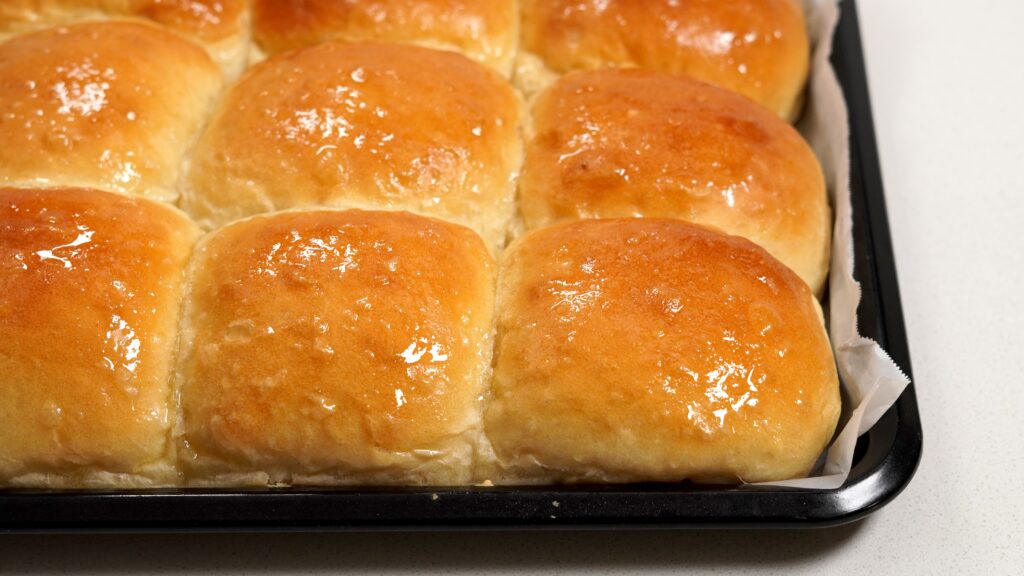
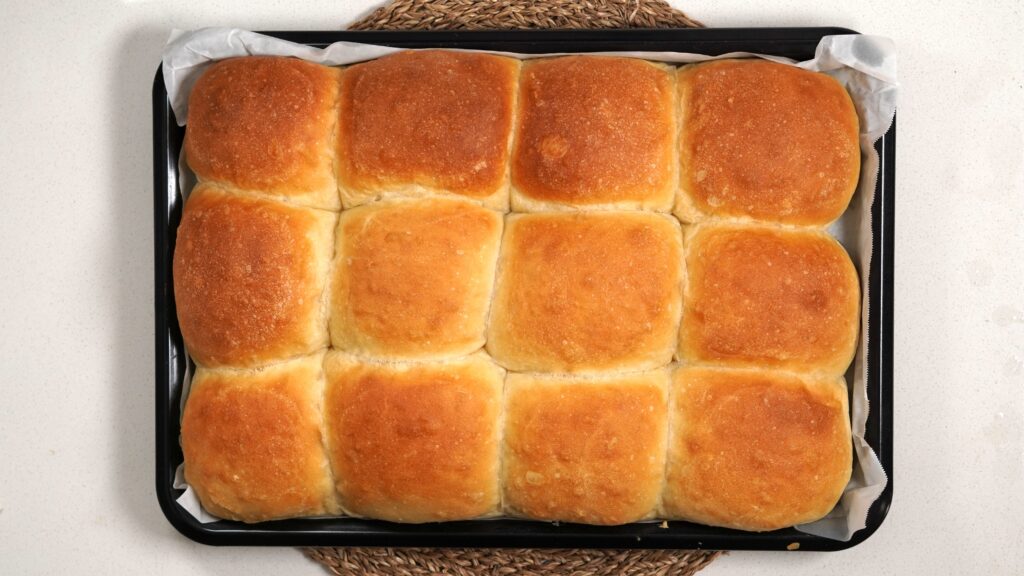
- Beautiful colour means they’re ready: The best way to know the rolls are done is the deep golden colour on top. Every oven is different, so watch the colour rather than the exact timer.

Let The Yeast Bloom First
Before you mix anything else, take a moment to let your yeast bloom. It’s a simple step, but it tells you everything you need to know about whether your yeast is alive and working. When you stir the yeast with warm water and a little honey, leave it for five minutes. You should see the surface turn foamy and bubbly—almost like a light mousse. That gentle foam is your sign that the yeast is active and ready to help your dough rise beautifully. It should look like the image below.
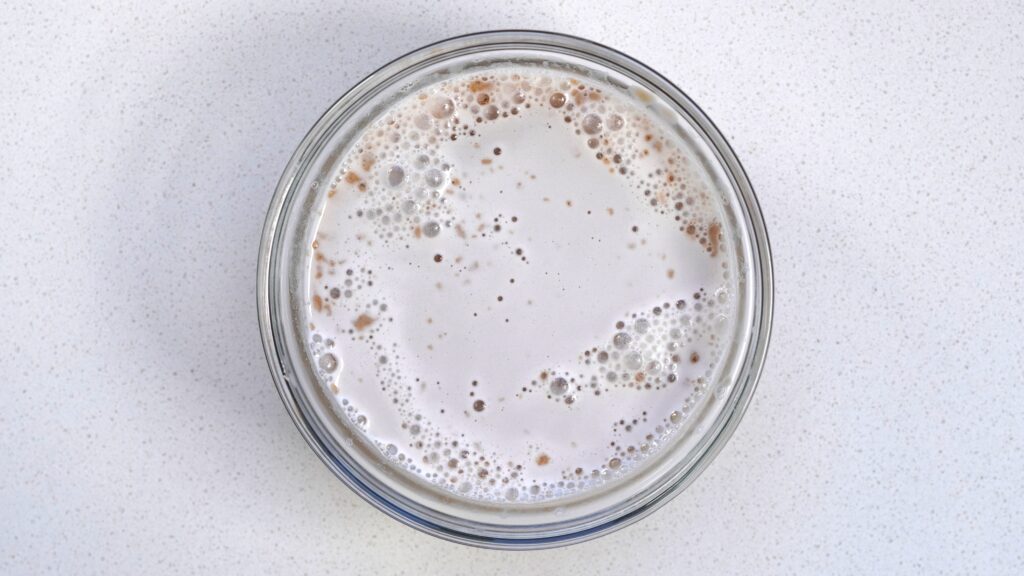
If nothing happens and the mixture stays flat, it could be that the water was too hot, too cold, or the yeast is simply past its best. And the best part? Testing it separately means you avoid wasting your flour, eggs, oil, and milk. Once you see that foamy top, you can confidently move on to the next step knowing your dough will rise exactly as it should.
Shaping Sticky Dough (Without Adding More Flour)
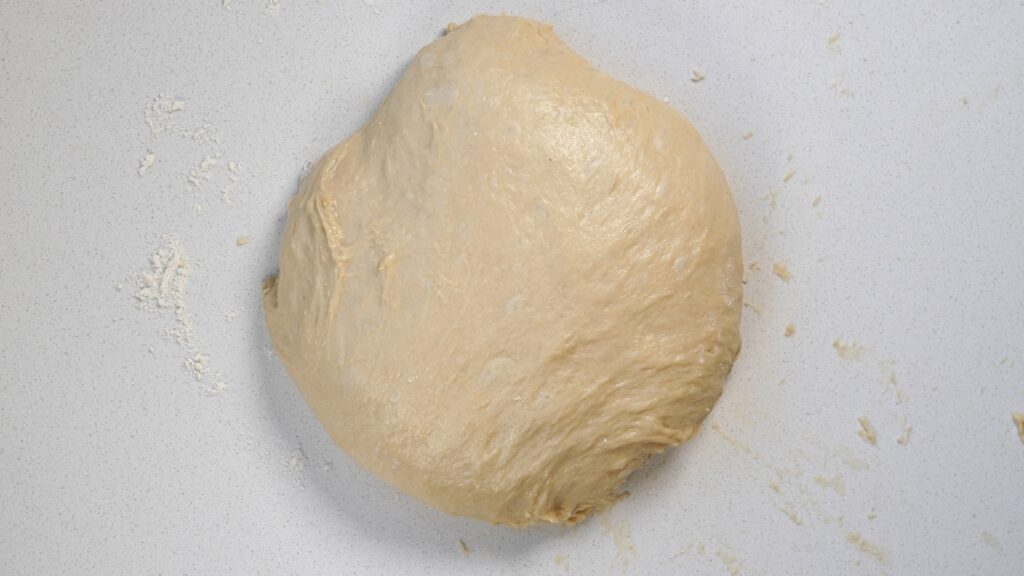
At this stage the dough is meant to be sticky, so try to resist the temptation to add more flour—extra flour can make the rolls dense. Instead, lightly flour your work surface and focus on flouring your hands, not the dough. Even better, rub a little oil on your hands for an even smoother shaping experience. Scoop up a portion of dough, gently tuck the edges underneath, and turn it in your hands until the top becomes smooth. The dough will naturally tighten into a soft, round ball without sticking, giving you perfectly shaped rolls every time.
Watch the video to see how to do it.
Swaps
- Bread Flour: I use strong bread flour because it has a higher protein content, which creates better gluten development and gives these rolls that soft, bouncy, bakery-style texture. If you don’t have bread flour, plain/all-purpose flour works too — the rolls will still be soft, just slightly less chewy and structured.
- Honey: Can be swapped with granulated sugar or caster sugar. Use the same amount (55 g). Honey gives a softer crumb and gentle sweetness, while sugar makes the rolls very slightly firmer but still delicious.
- Milk: I use semi-skimmed milk for a lighter roll, but whole milk will give you an even richer flavour and slightly softer texture thanks to the extra fat. Both work beautifully, so use what you have.
- Olive Oil: I use olive oil for a wholesome and flavourful option, but you can use melted butter, sunflower oil, or rapeseed oil instead. Butter will give you the richest flavour, while neutral oils keep the taste mild.
- Eggs: I don’t recommend swapping the eggs, as they help with structure, softness, and colour. Keeping the eggs is key for getting that pillowy, fluffy texture.
Storage
Fridge: Store the rolls in an airtight container for up to 4 days. Warm them briefly in the oven before serving to bring back the softness.
Freezer: Freeze once completely cool, either whole or individually. Store in a sealed freezer-safe bag or container for up to 3 months. Defrost at room temperature, then warm in a low oven for a few minutes to refresh.
More Easy Bread Recipes
- Easy No Knead Bread
- Healthy Cottage Cheese Bread – 6 Ingredients
- Easy Focaccia Recipe (No Knead, Beginner-Friendly, Italian Style)
- Healthy Cornbread Recipe (No Butter, Refined Sugar Free)
No Knead Dinner Rolls (Easy, Soft, Foolproof)
Video
Ingredients
- 1 tbsp dry yeast
- 50 g honey
- 125 ml warm water, about 38°C / 100°F
- 600 g strong bread flour, plus extra for dusting
- 1.5 tsp salt
- 250 ml semi-skimmed milk, lukewarm (38°C / 100°F)
- 50 g olive oil
- 2 eggs, at room temperature and beaten with a fork
- olive oil for brushing, optional
Instructions
- Add the dry yeast and half of the honey to a small bowl. Pour in the warm water, stir gently, and leave for 5 minutes until the surface becomes frothy.

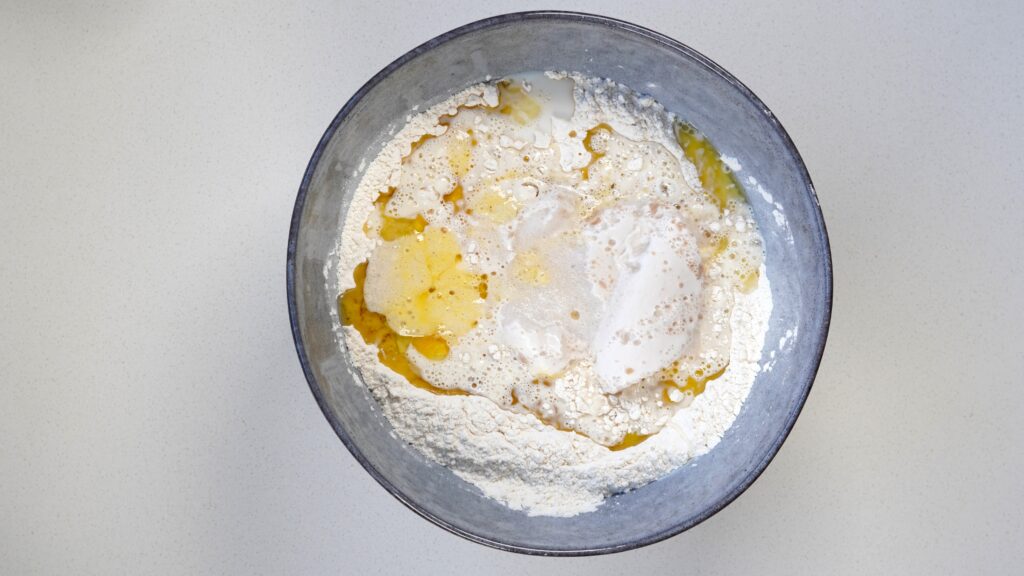
- Make a well in the centre of the flour. Pour in the lukewarm milk, olive oil, salt, the remain honey and beaten eggs. Add the frothy yeast mixture, scraping in all the bubbles.
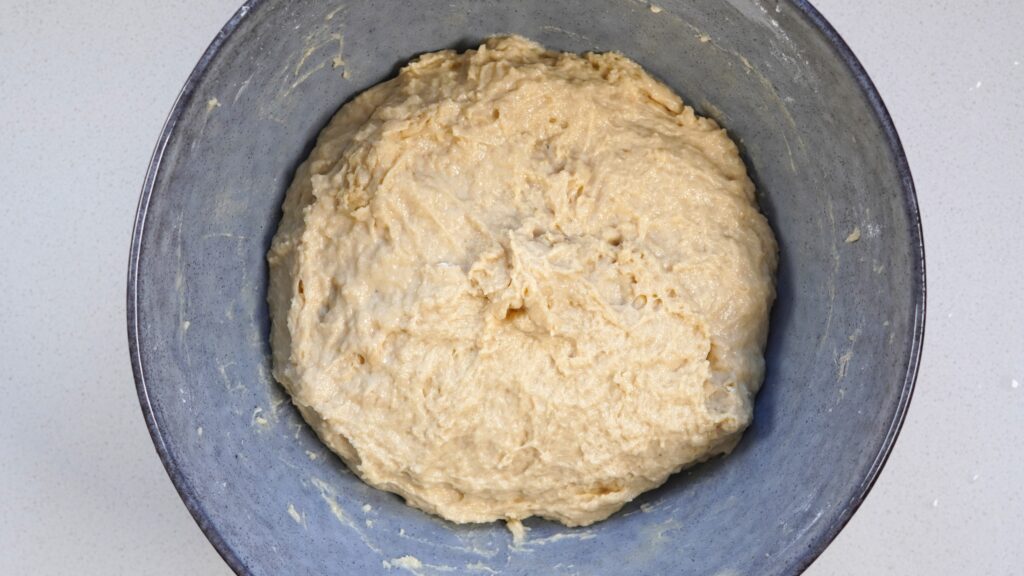
- Mix everything together with a wooden spoon until it forms a thick, sticky dough. It should look like a heavy batter rather than traditional kneadable dough.
- Cover the bowl with a damp, clean tea towel. Place in a warm spot to rise for 1½–2 hours, or until the dough has almost tripled in size. (Tip: Place the bowl inside your switched-off oven with just the oven light on for the perfect warm environment.)
- Once the dough has risen, remove the tea towel and gently give it a quick mix to release the larger bubbles.
- Lightly flour your work surface. Scrape the dough out and dust the top lightly with flour. Shape it gently into a log.
- Cut the log into 4 equal pieces, then cut each of those pieces into 3 to make 12 pieces of dough.
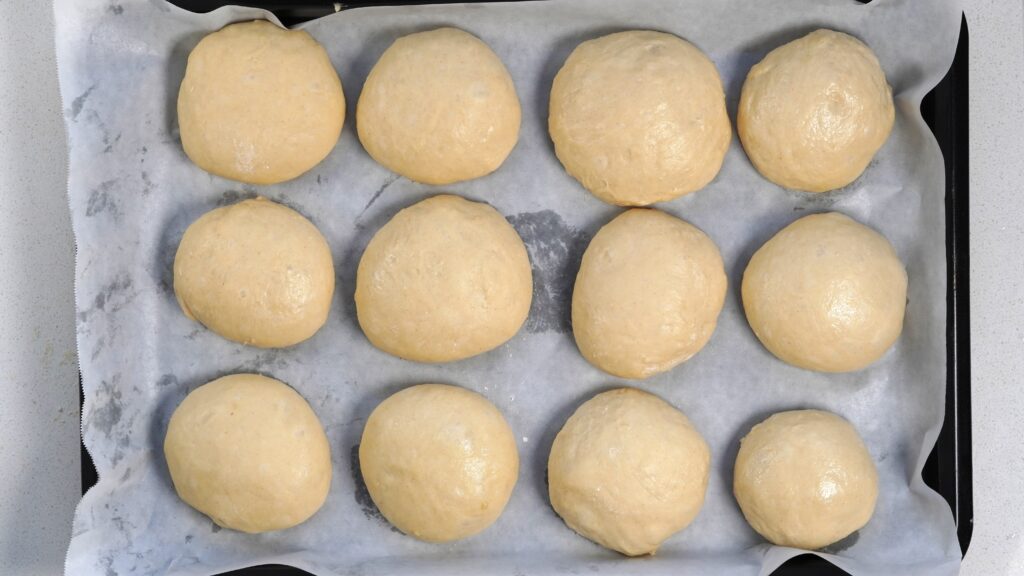
- Rub a little olive oil onto your hands to stop the dough from sticking. Take one piece, press it gently to flatten slightly, then gather the edges into the centre to form a ball. Flip it smooth-side up and roll lightly to shape.
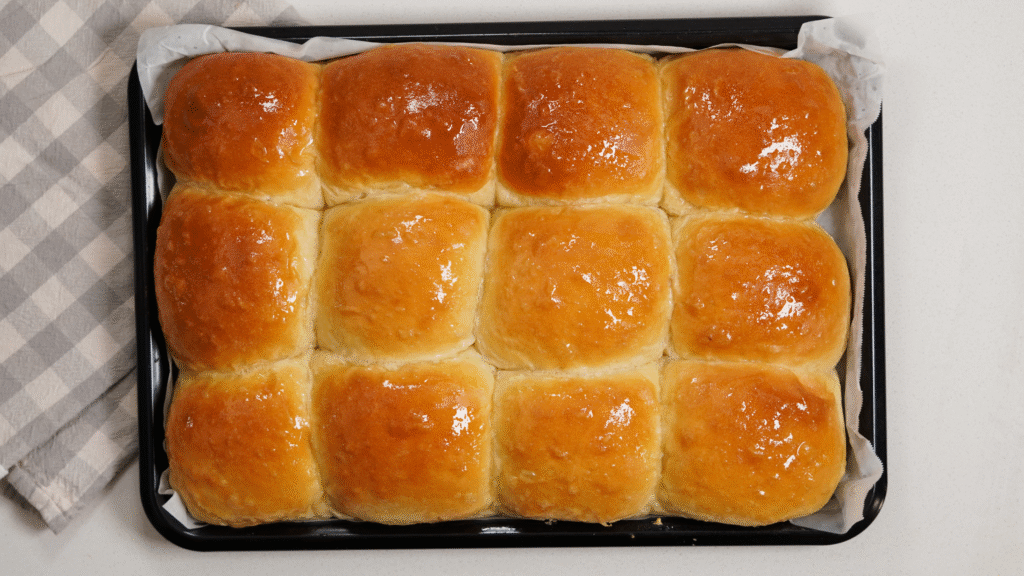
- Place each dough ball, smooth side up, into a lined 38 × 25 cm (approximately 15 × 10 inches). baking tray. Arrange them in 3 rows of 4.
- Cover the rolls with lightly oiled cling film so it doesn’t stick. Leave them to rise again for 30–45 minutes, or until they’re puffy and have risen by about 75%.
- Preheat your oven to 180°C (350°F).
- Bake the rolls for 20 minutes, or until the tops are a rich golden brown. A roll in the centre should sound hollow when tapped on the underside.
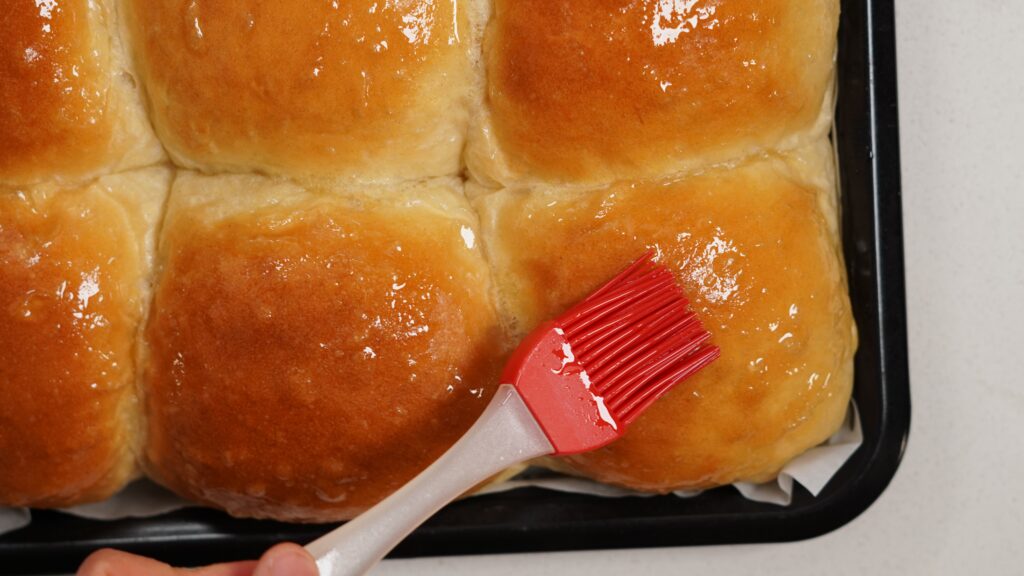
- Remove from the oven and brush with olive oil if you want a soft, glossy finish.
- Lift the rolls out using the baking paper overhang and leave to cool until warm before serving.

Hi, thanks for the recipe. What happens with the salt and the other half of the honey?
Hi Sandie,
Thank you for your question — well spotted! The salt and remaining honey go in with the eggs in step 2. I can’t wait for you to try this recipe, keep me posted on how it turns out 🤗
Flo