 Florencia Baldini Last Updated on May 17, 2025
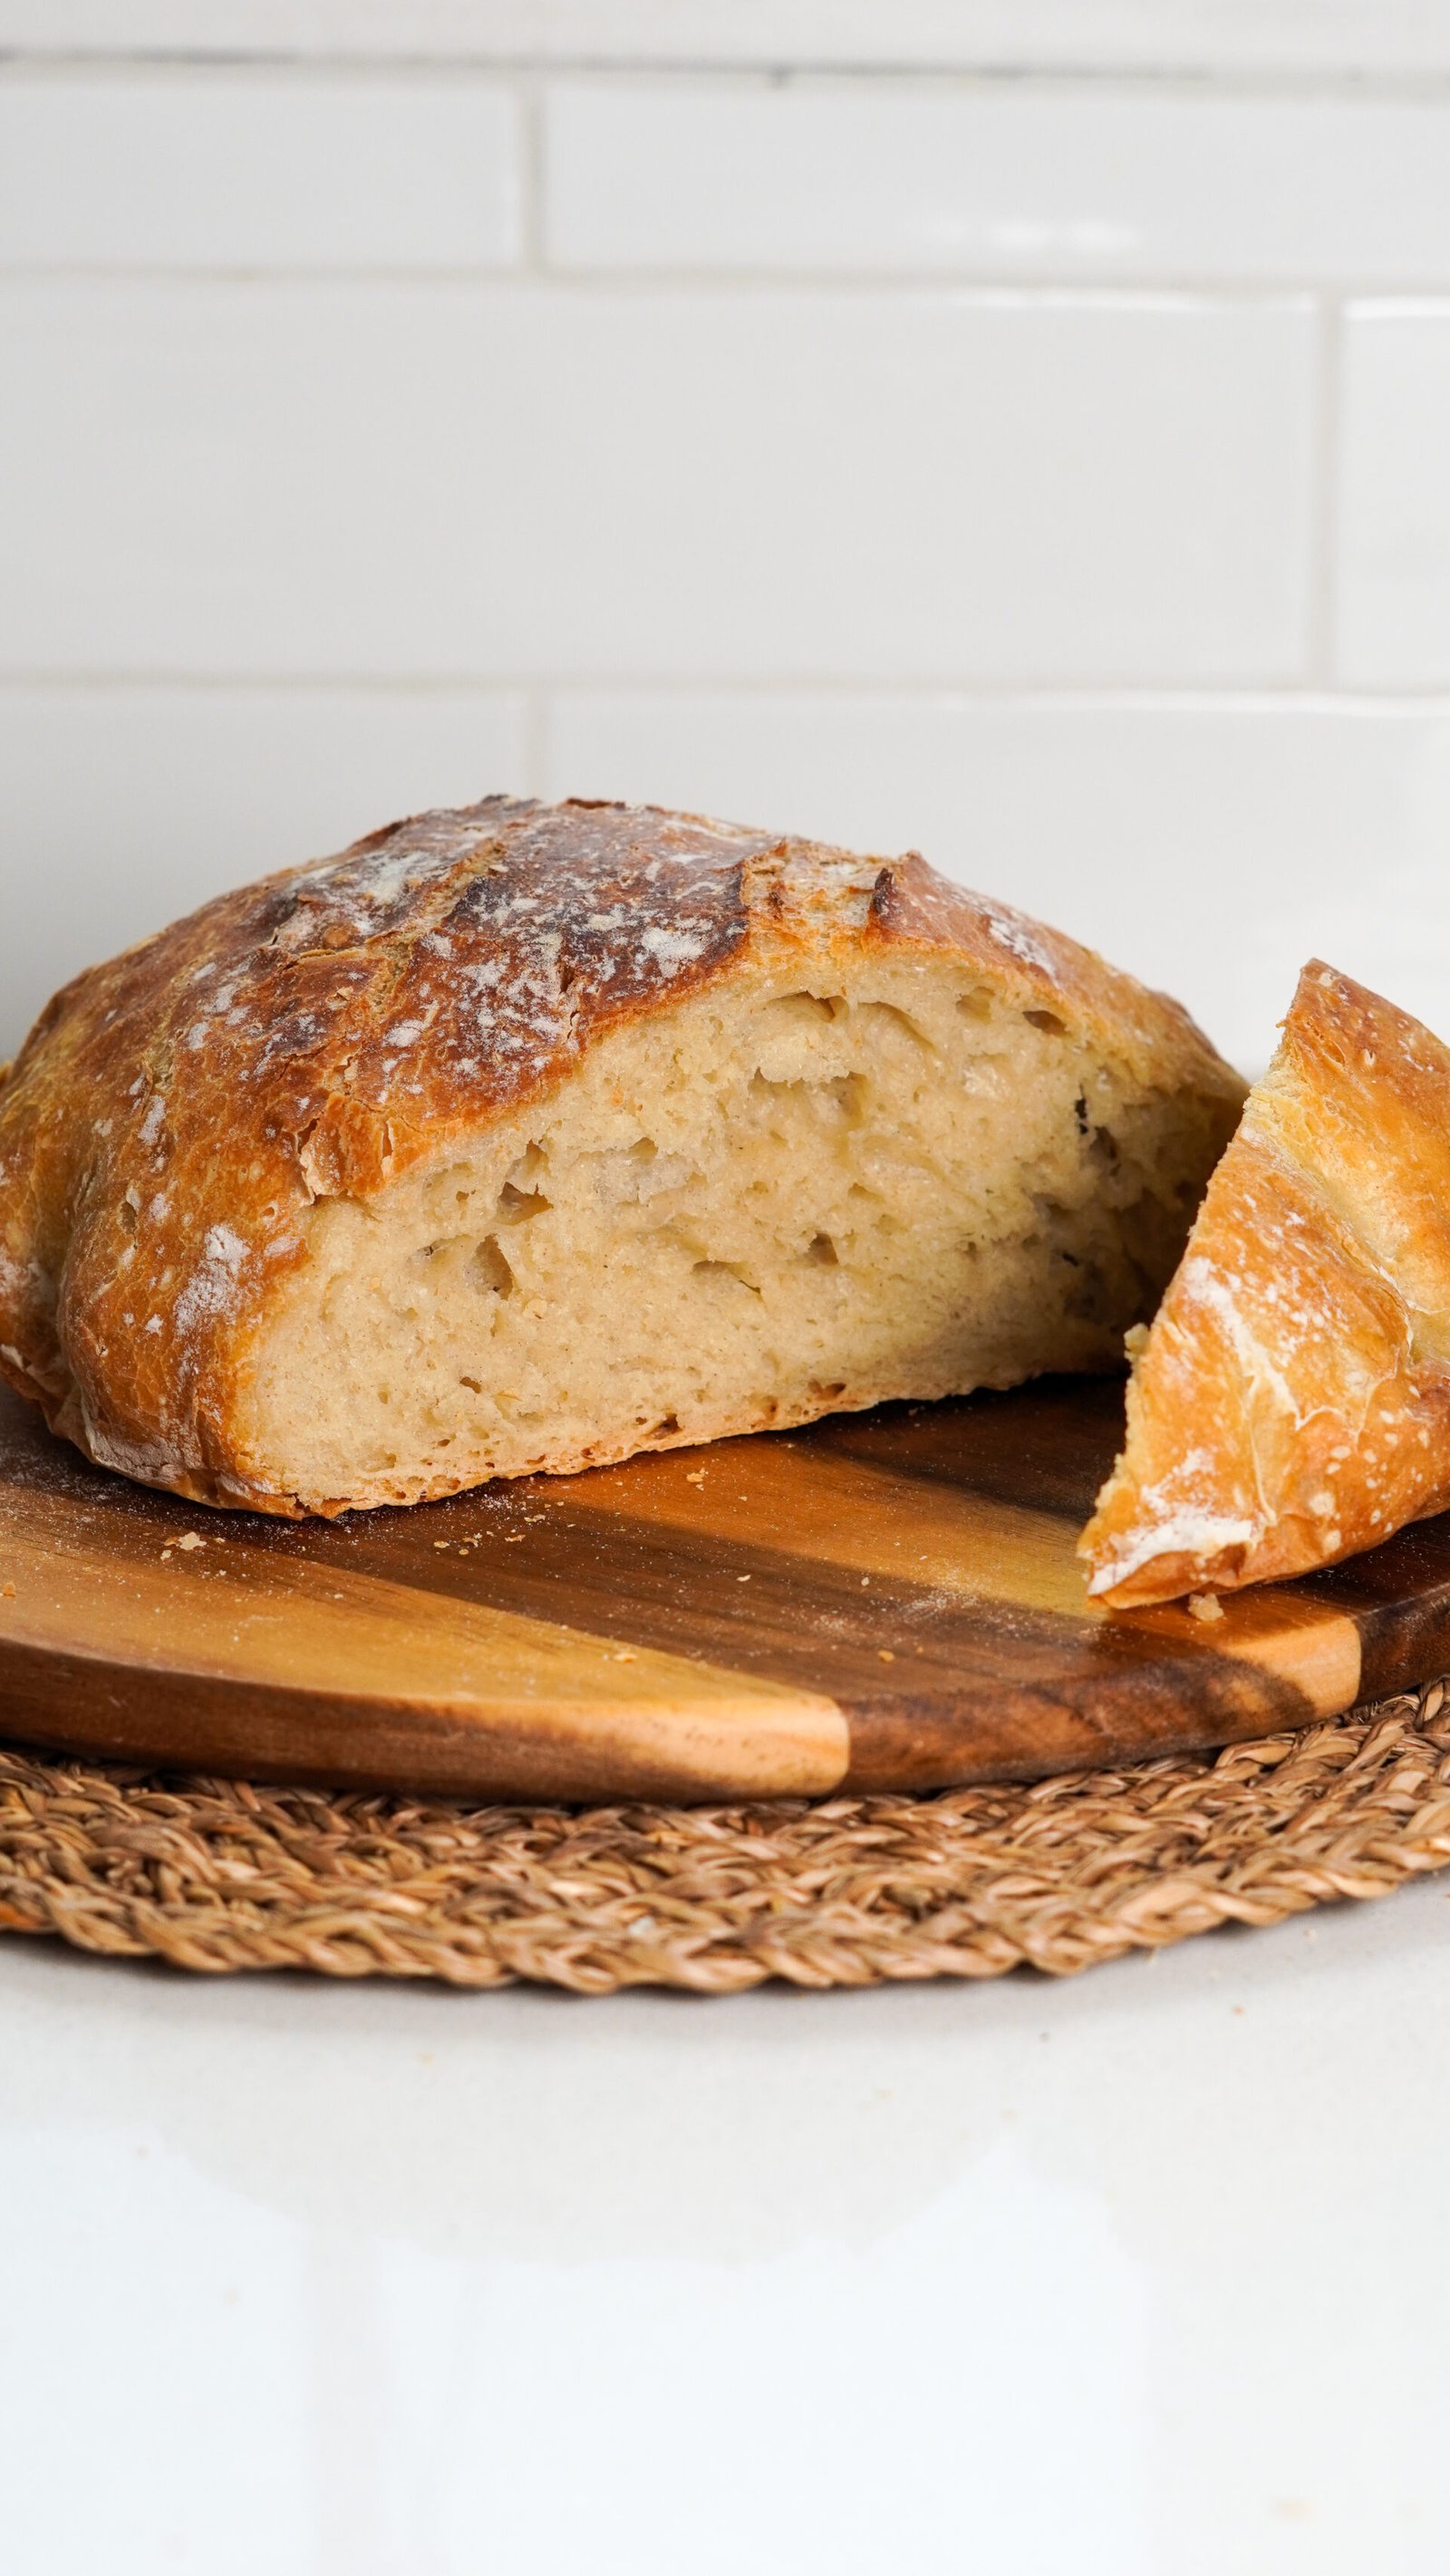
This is a staple recipe in my kitchen and the one Alan keeps asking for the most. Nothing beats a freshly baked bread and if want that bakery standard result but think it is too complicated I need to give this one a try, it’s truly a game-changer! With just 3 ingredients (plus water), no kneading, and no special equipment, you’ll have a crusty, golden loaf that looks and tastes like it came straight from a bakery. It’s foolproof, satisfying to make, and so delicious you might never buy bread again. I always get so many compliments from family and friends when I make it, and it gets snapped up in seconds! I promise, once you try it, you’ll never look back!
Knead Vs No-Knead
Kneading is traditionally needed to develop gluten in the dough. Gluten is the network of proteins that gives bread its structure, chewiness, and ability to rise well. When you knead, you’re aligning and strengthening these gluten strands.
But with this no-knead recipe, you don’t have to work hard — instead, you rely on time and hydration. The long resting period (2-3 hours) allows the gluten to develop slowly on its own, while the warm water helps activate the yeast. This means you get the same lovely texture and rise without any kneading or fuss: this recipe trades effort for time, making it perfect for beginners or anyone who wants great bread without the work.
Homemade vs Store-Bought Bread
Store-bought bread can be convenient but often contains preservatives, additives, and extra sugars to extend shelf life and improve texture. The flavour can be bland, and the freshness fades quickly.
Homemade bread, especially this no-knead version, is made with just a few wholesome ingredients — flour, yeast, salt, and water. It’s fresher, tastes richer, and you know exactly what’s going in. Plus, baking at home means no hidden nasties and a warm, comforting kitchen smell that no supermarket loaf can match. Making your own also lets you customise — add seeds, herbs, or use different flours — and feel proud of creating something nourishing from scratch.
Why A Cast Iron Pot Is Key
Using a cast iron pan (or any heavy, oven-safe pot with a lid) is essential to get that perfect bakery-style crust and texture. The thick, heavy pan holds and distributes heat evenly, creating a mini steam oven inside when you cover it with the lid. This steam is what helps the dough rise beautifully and develop that crispy, golden crust we all love.
It’s super important that the pan is piping hot before you add the dough — this sudden heat jump helps the bread “spring” up quickly, locking in moisture and giving you a light, airy crumb with a crunchy crust. If the pan isn’t hot enough, the bread won’t rise as well and the crust will be less crisp.
So don’t skip preheating — it really makes all the difference for a professional-quality loaf at home!
Tips
- Use warm water (not hot!) to activate the yeast properly.
- Don’t rush the resting time — the longer rise means better flavour and texture.
- Resist touching the dough too much — it’s sticky but handling it gently keeps it light.
- A cast iron pan is best, but any oven-safe pot with a lid works too.
- Let the bread cool fully before cutting — patience pays off with better crust and crumb.
Storage
Room Temperature: Store your bread at room temperature in a paper bag or wrapped loosely in a clean tea towel to keep the crust crisp and avoid sogginess. Avoid plastic bags for room temp storage as they trap moisture and soften the crust.
Freezer: For longer storage, slice the bread and freeze it in an airtight container or freezer bag. You can toast slices straight from the freezer whenever you like.
More Bread Recipes
- Easy 4-Ingredient Lentil Bread
- 3-Ingredient Quick & Easy Flatbread
- Cottage Cheese Bread
- Beet & Seed Power Loaf

Easy No Knead Bread
Video
Ingredients
- 450 g strong white flour
- 2 tsp yeast
- 2 tsp salt
- 375 ml WARM water, very important!
Instructions
- In a very large bowl add flour, yeast and water. Mix a bit. Add the salt and mix until all the ingredients are well incorporated.
- Cover with cling film and leave it to rest for 2-3 hours (it is VERY important you leave it somewhere warm, if it’s cold it won’t rise*).
- (Remove the bowl from the oven (if this is where you left it) turn the oven on at 230C, when it reaches this temperature put a cast iron pan with lid into it (you’ll need the pan to be piping hot for the next step)
- After 2-3 hour you dough will have bubble a lot. Now, on a clean surface with a dust of flour, pour the dough. It will be sticky but try not to touch it too much, use a spatula and scratch the edges to remove from the bowl.
- With the spatula: fold the sides inwards (about 5-6 folds) to roughly form a roundish shape. Transfer to a baking paper (make a quick movement, don’t be scared).
- Now transfer the dough into the hot pan and bake 30mins with lid on and further 12 mins without the lid. Once is out of the oven it will feel hard at the touch but wait, don’t cut it yet!
- Let it cool down for at least 10 minutes before cutting. It will crust, taste and smell to perfection.